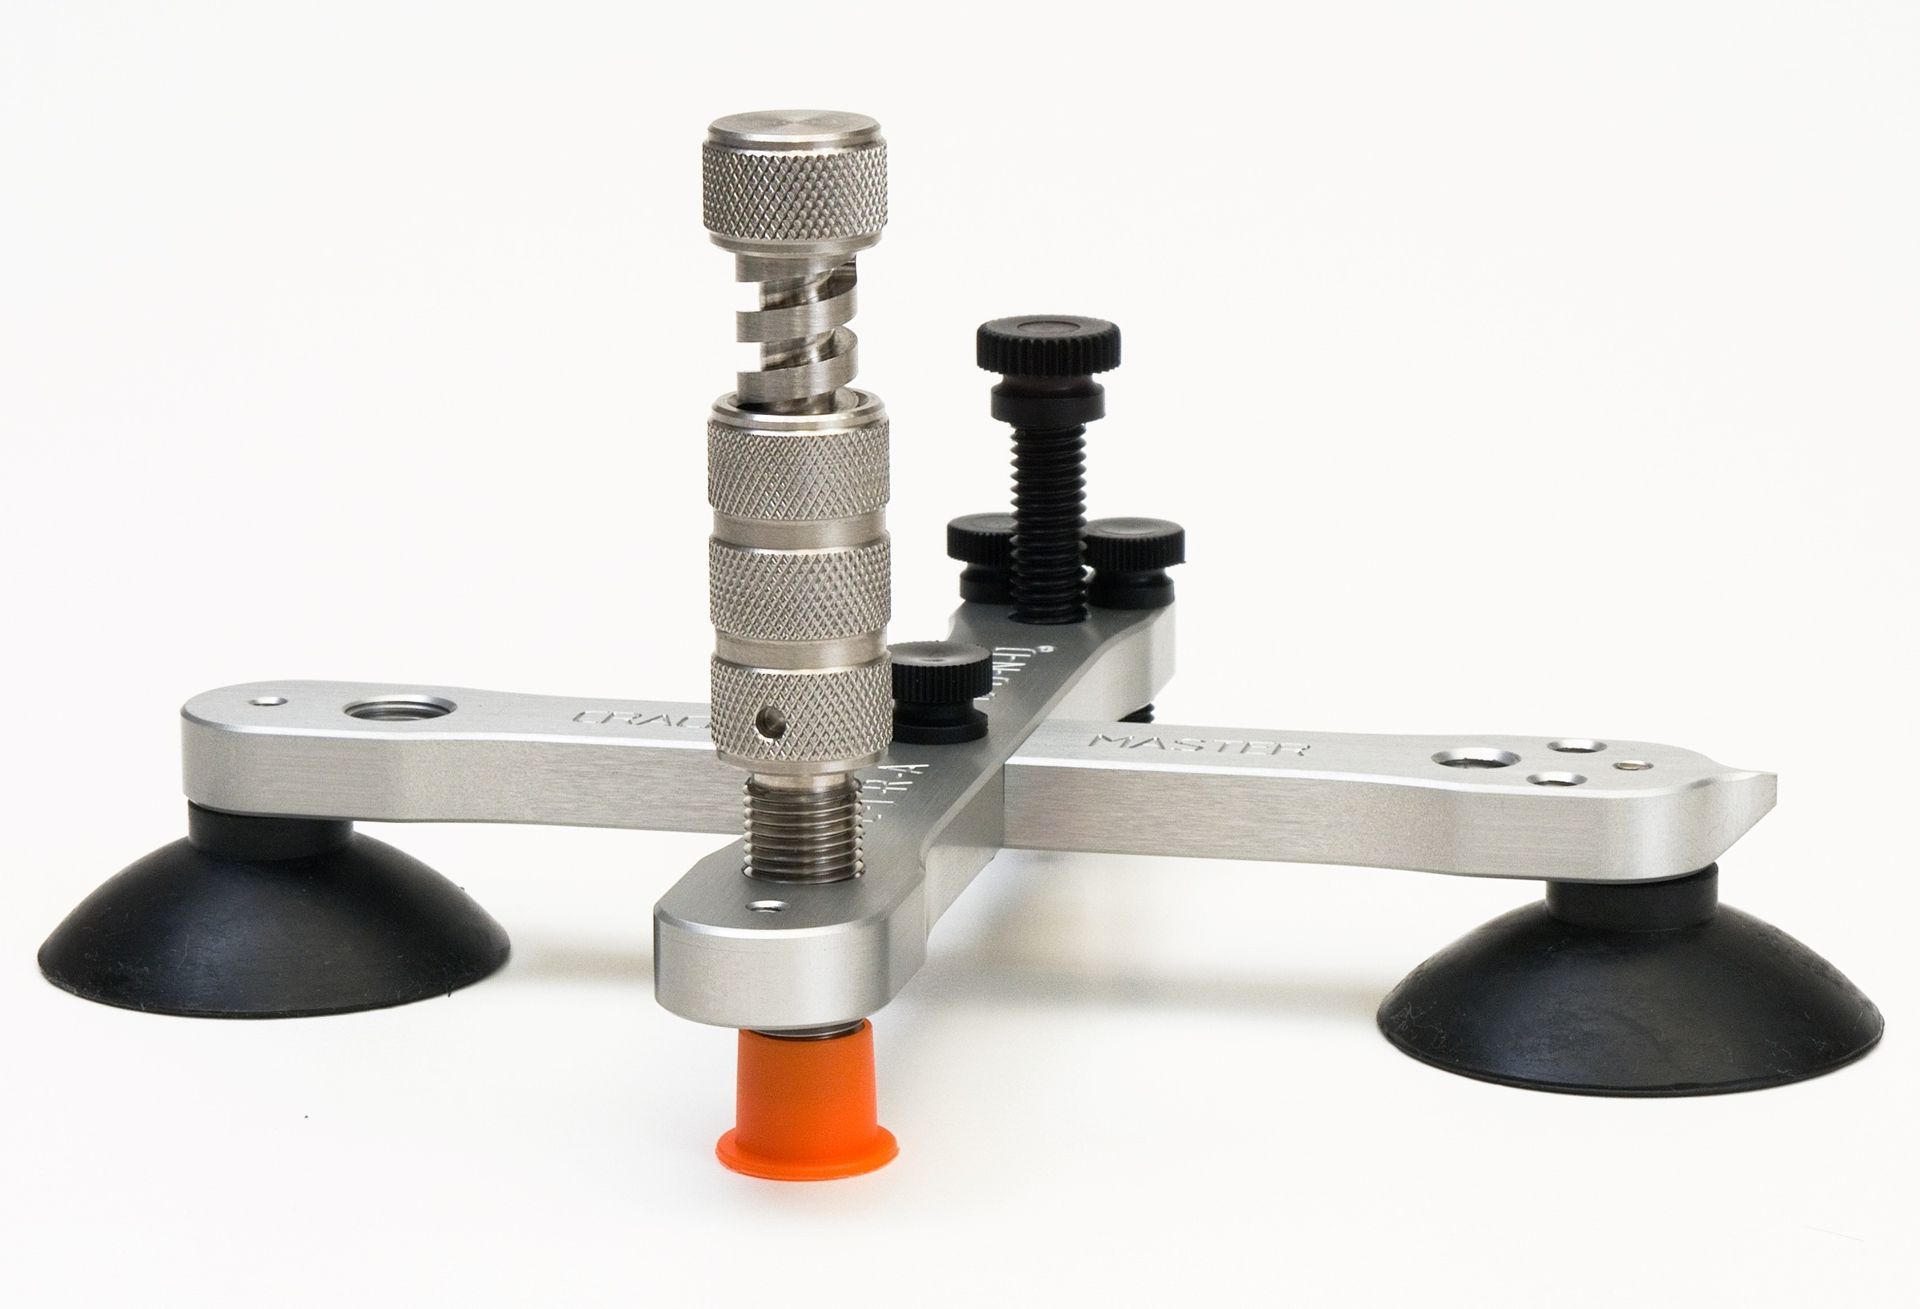
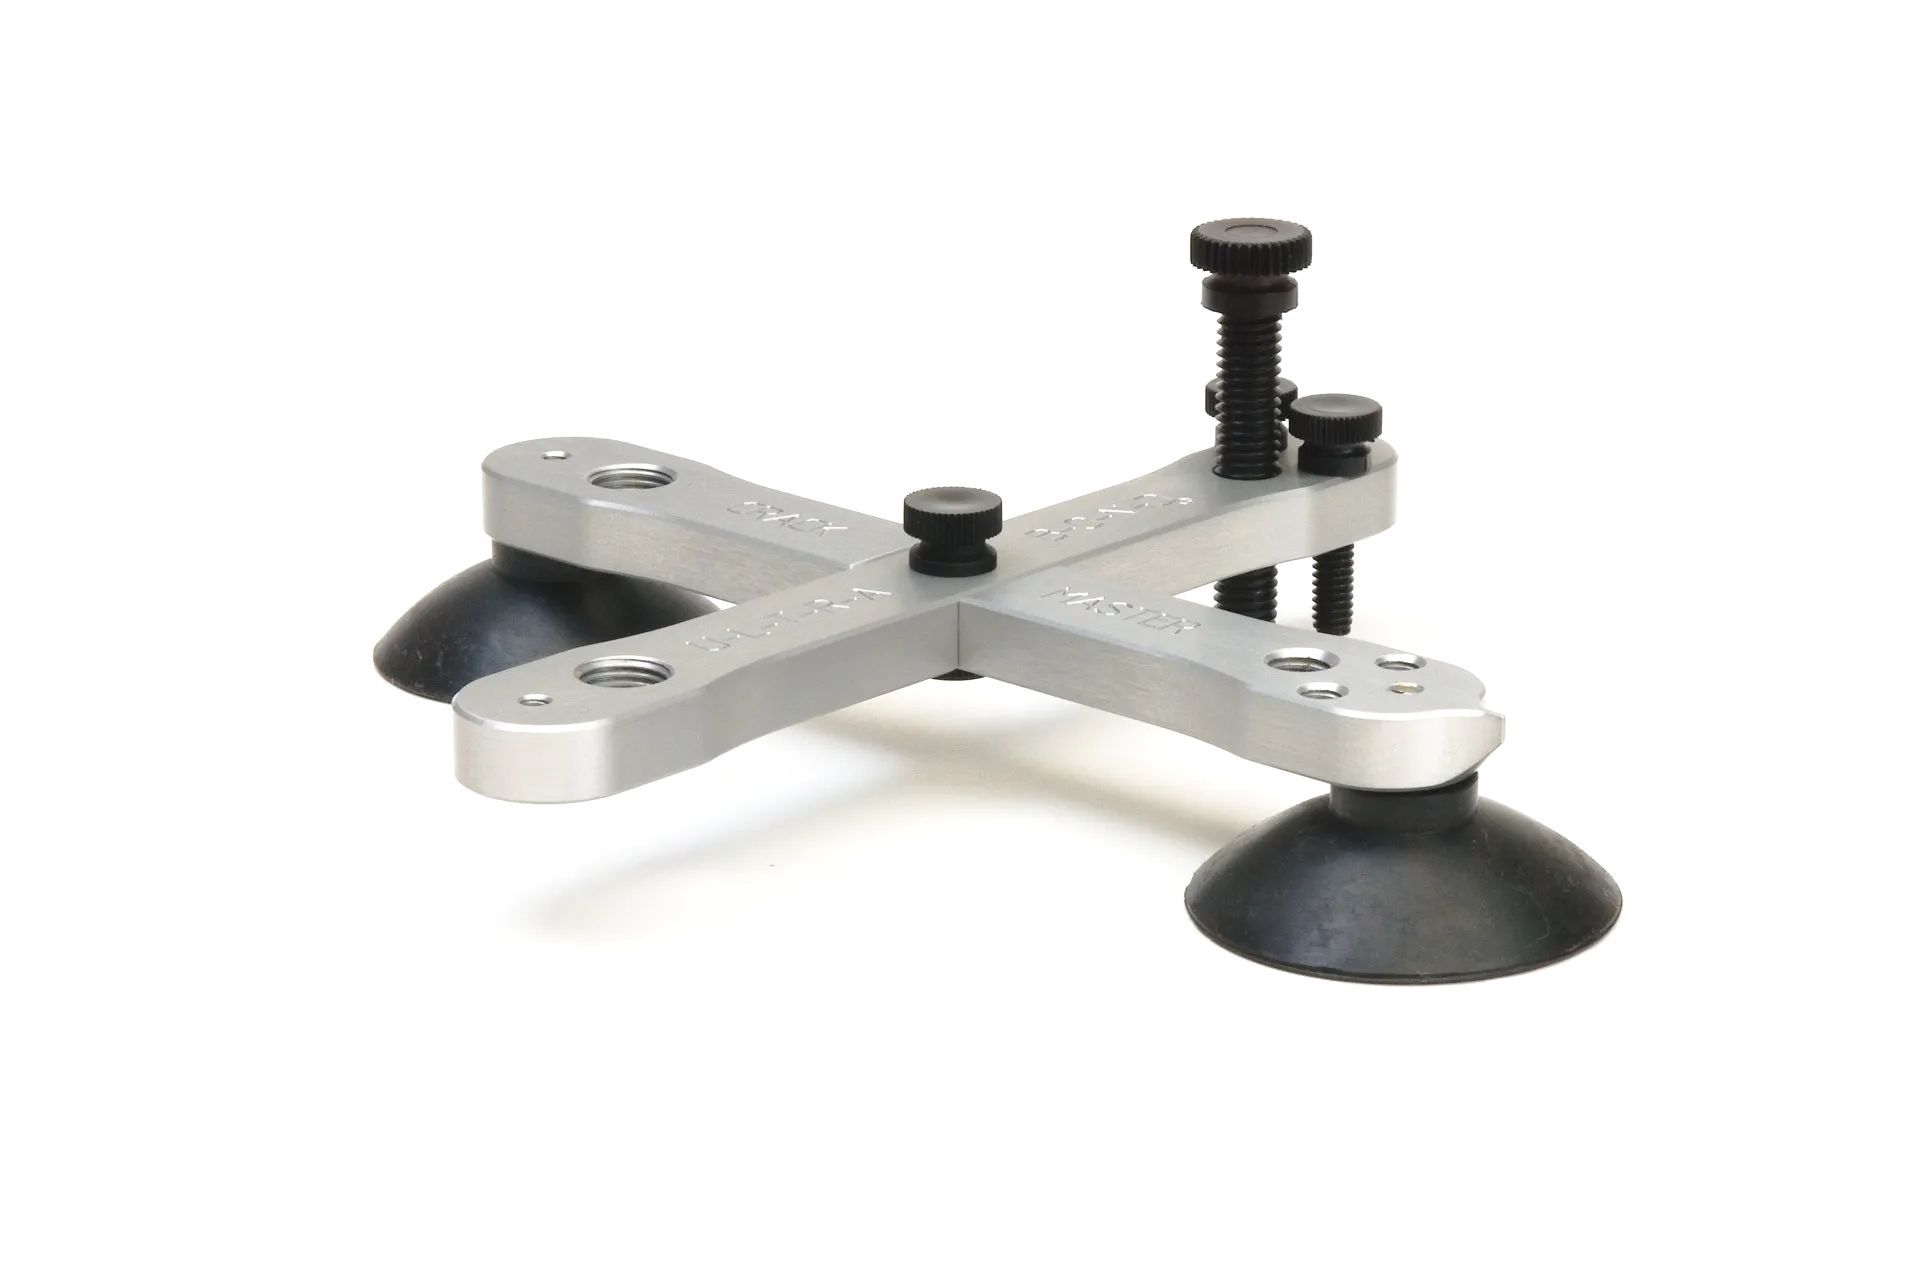
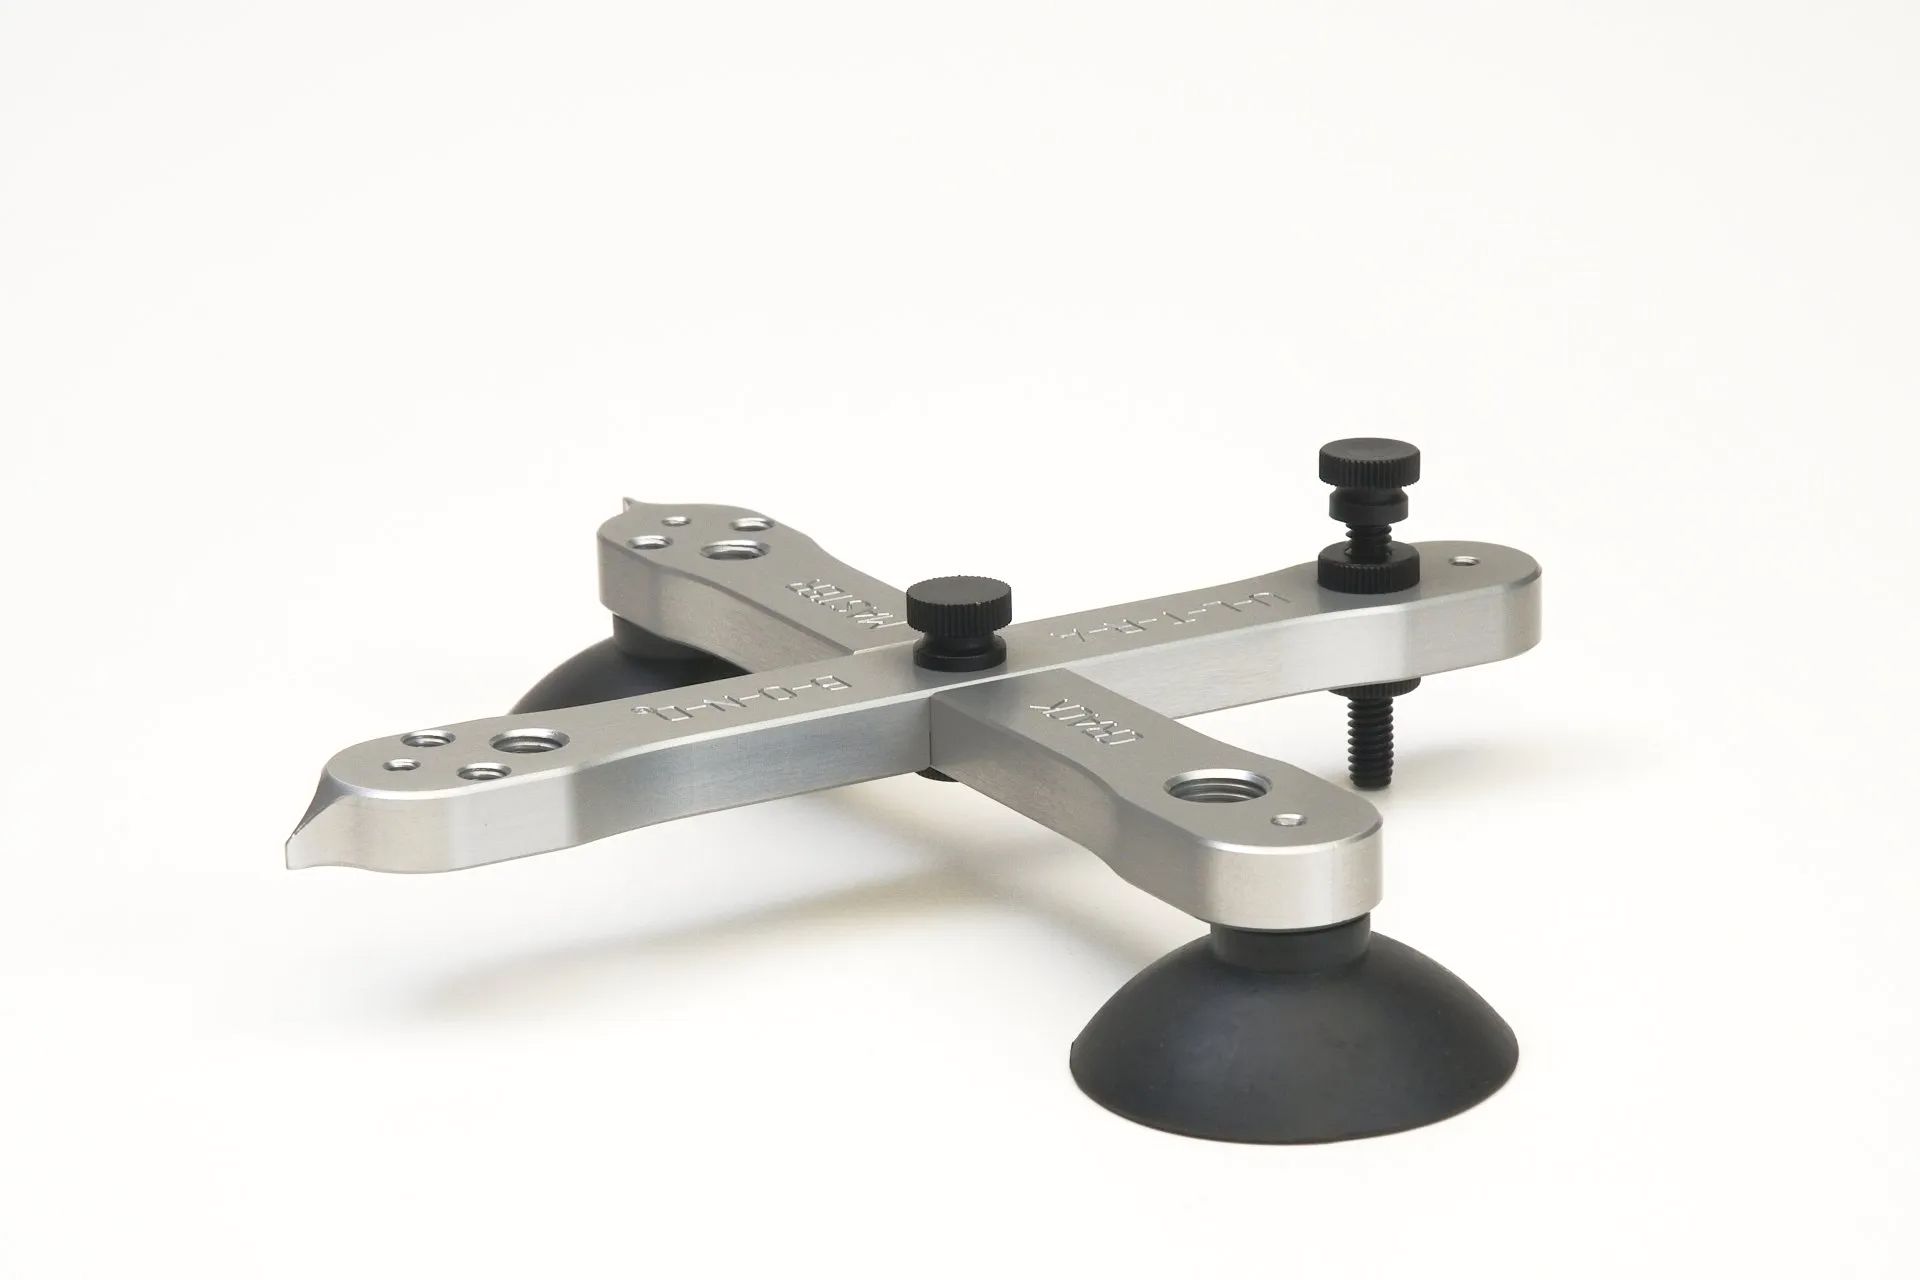
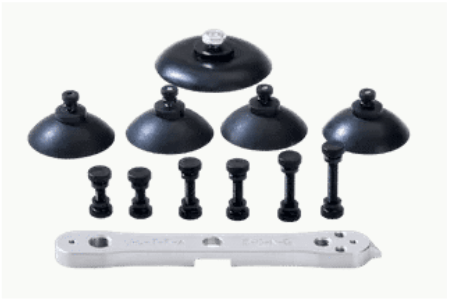
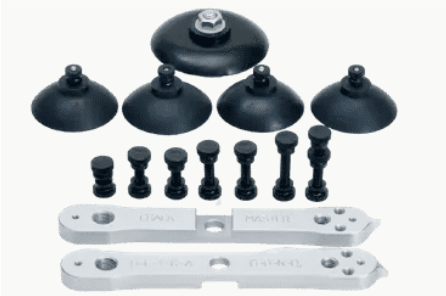
The New Crack Master Wonder Bar Windshield Repair Bridge Replaces, Inhances and Obsoletes:
- Vacuuming
- Flexing Legs
- Flowering
- Use of low viscosity resins
- Only Tool that Restores chip repairs to 100%+ See Lab Tests
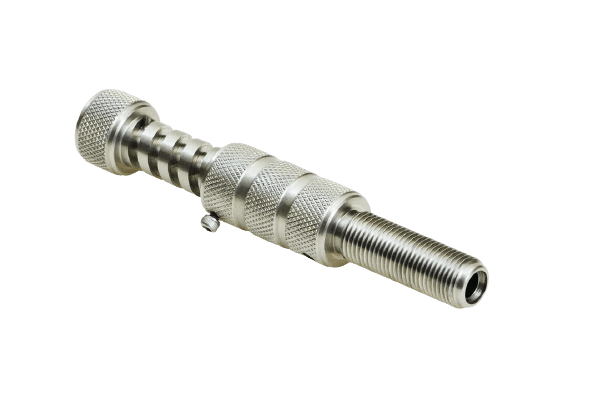
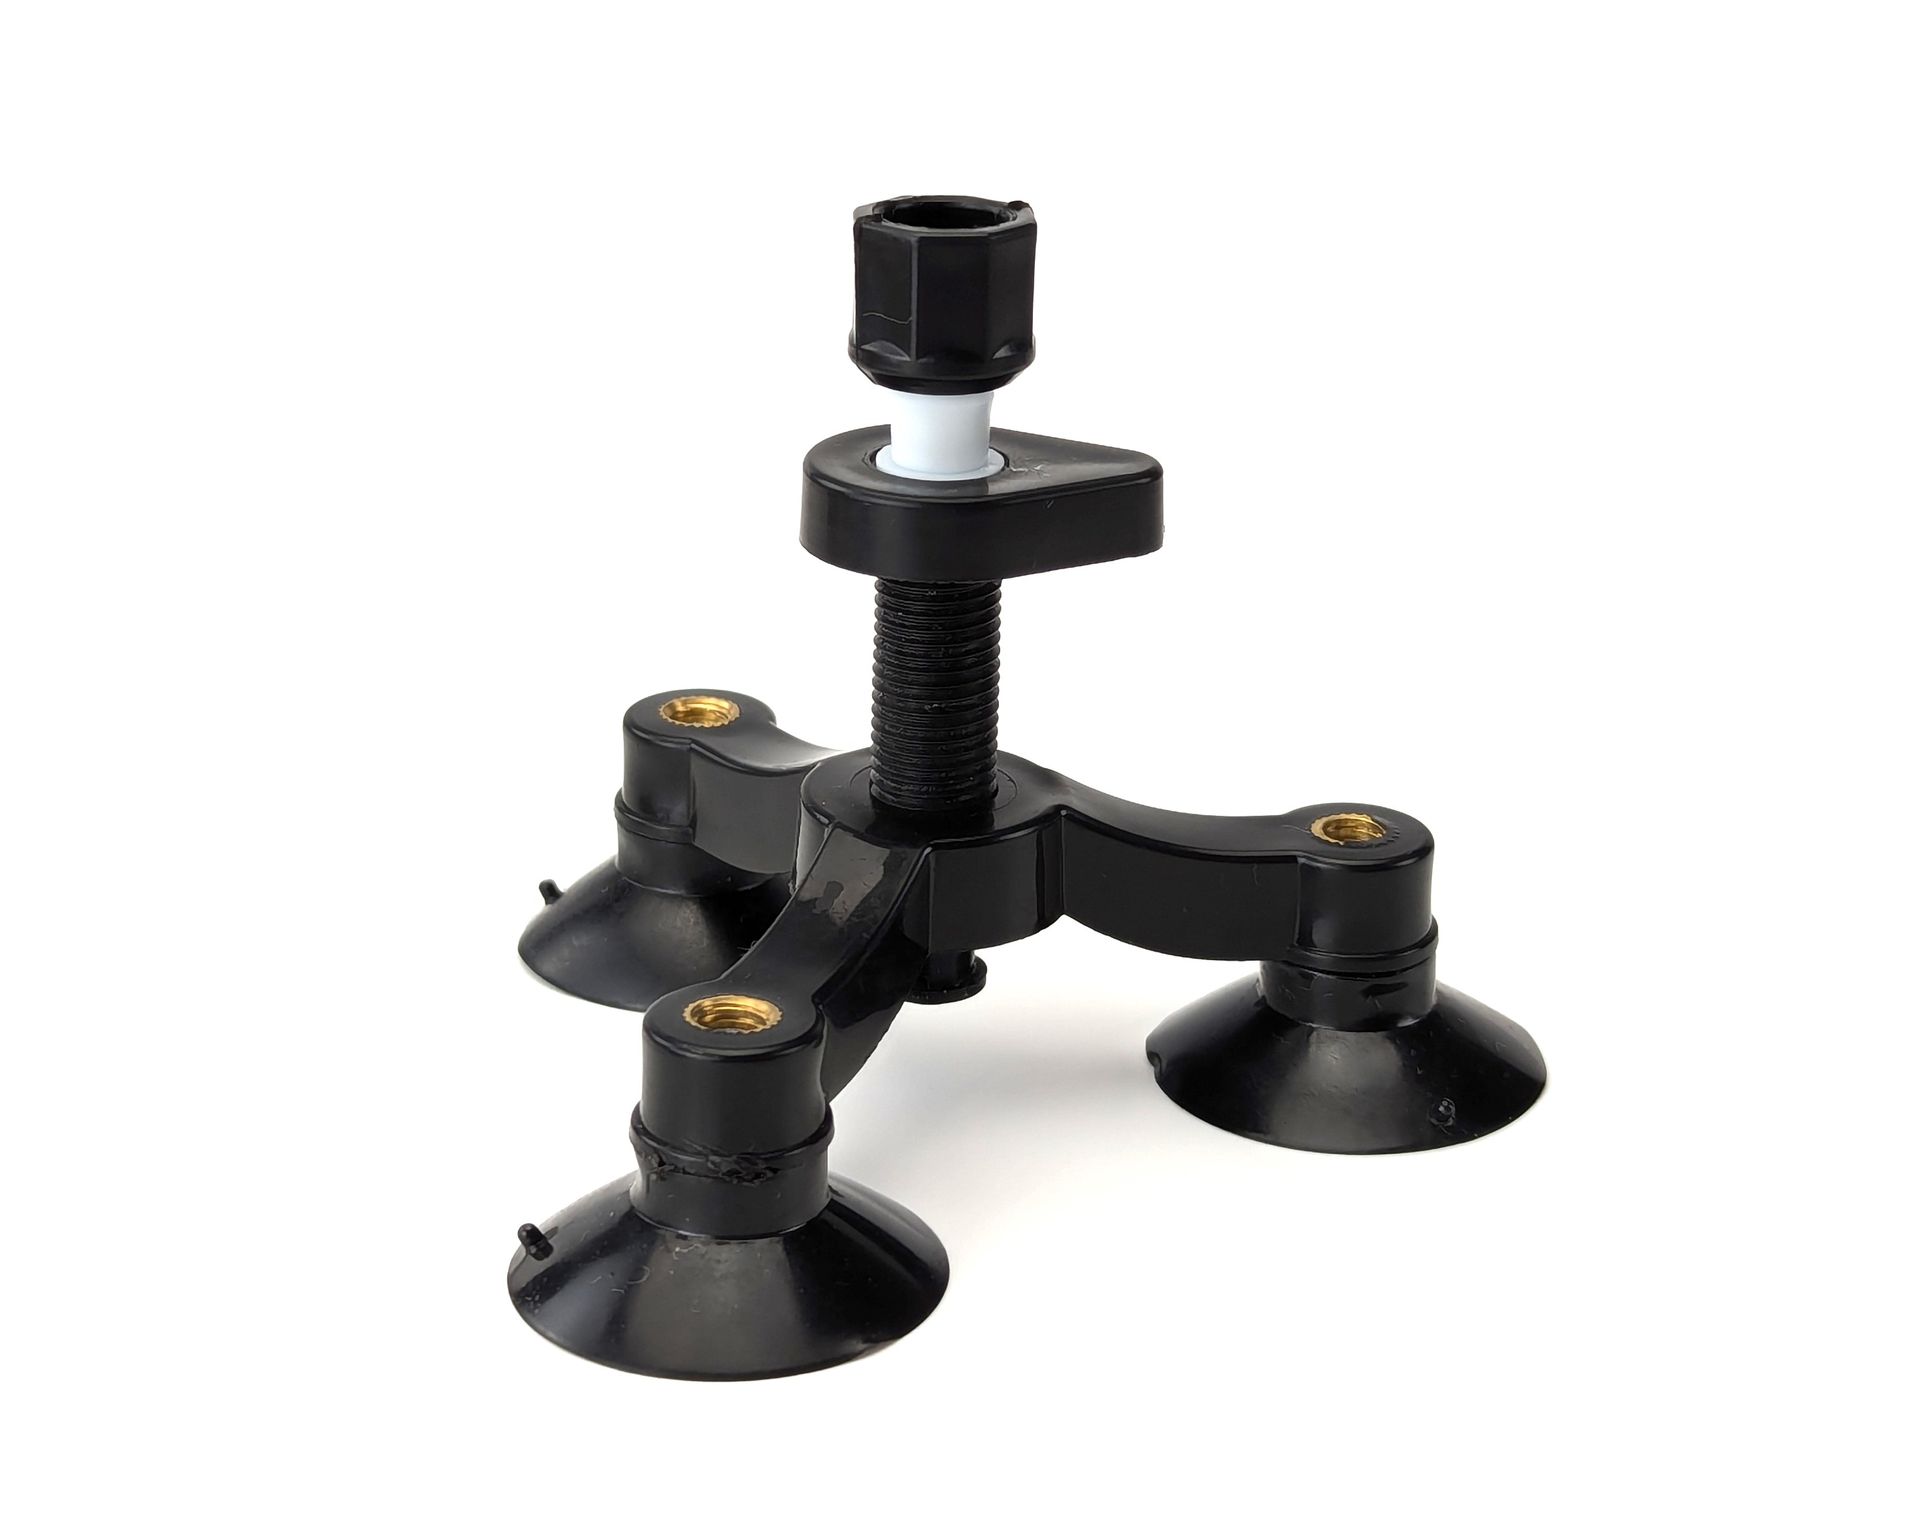
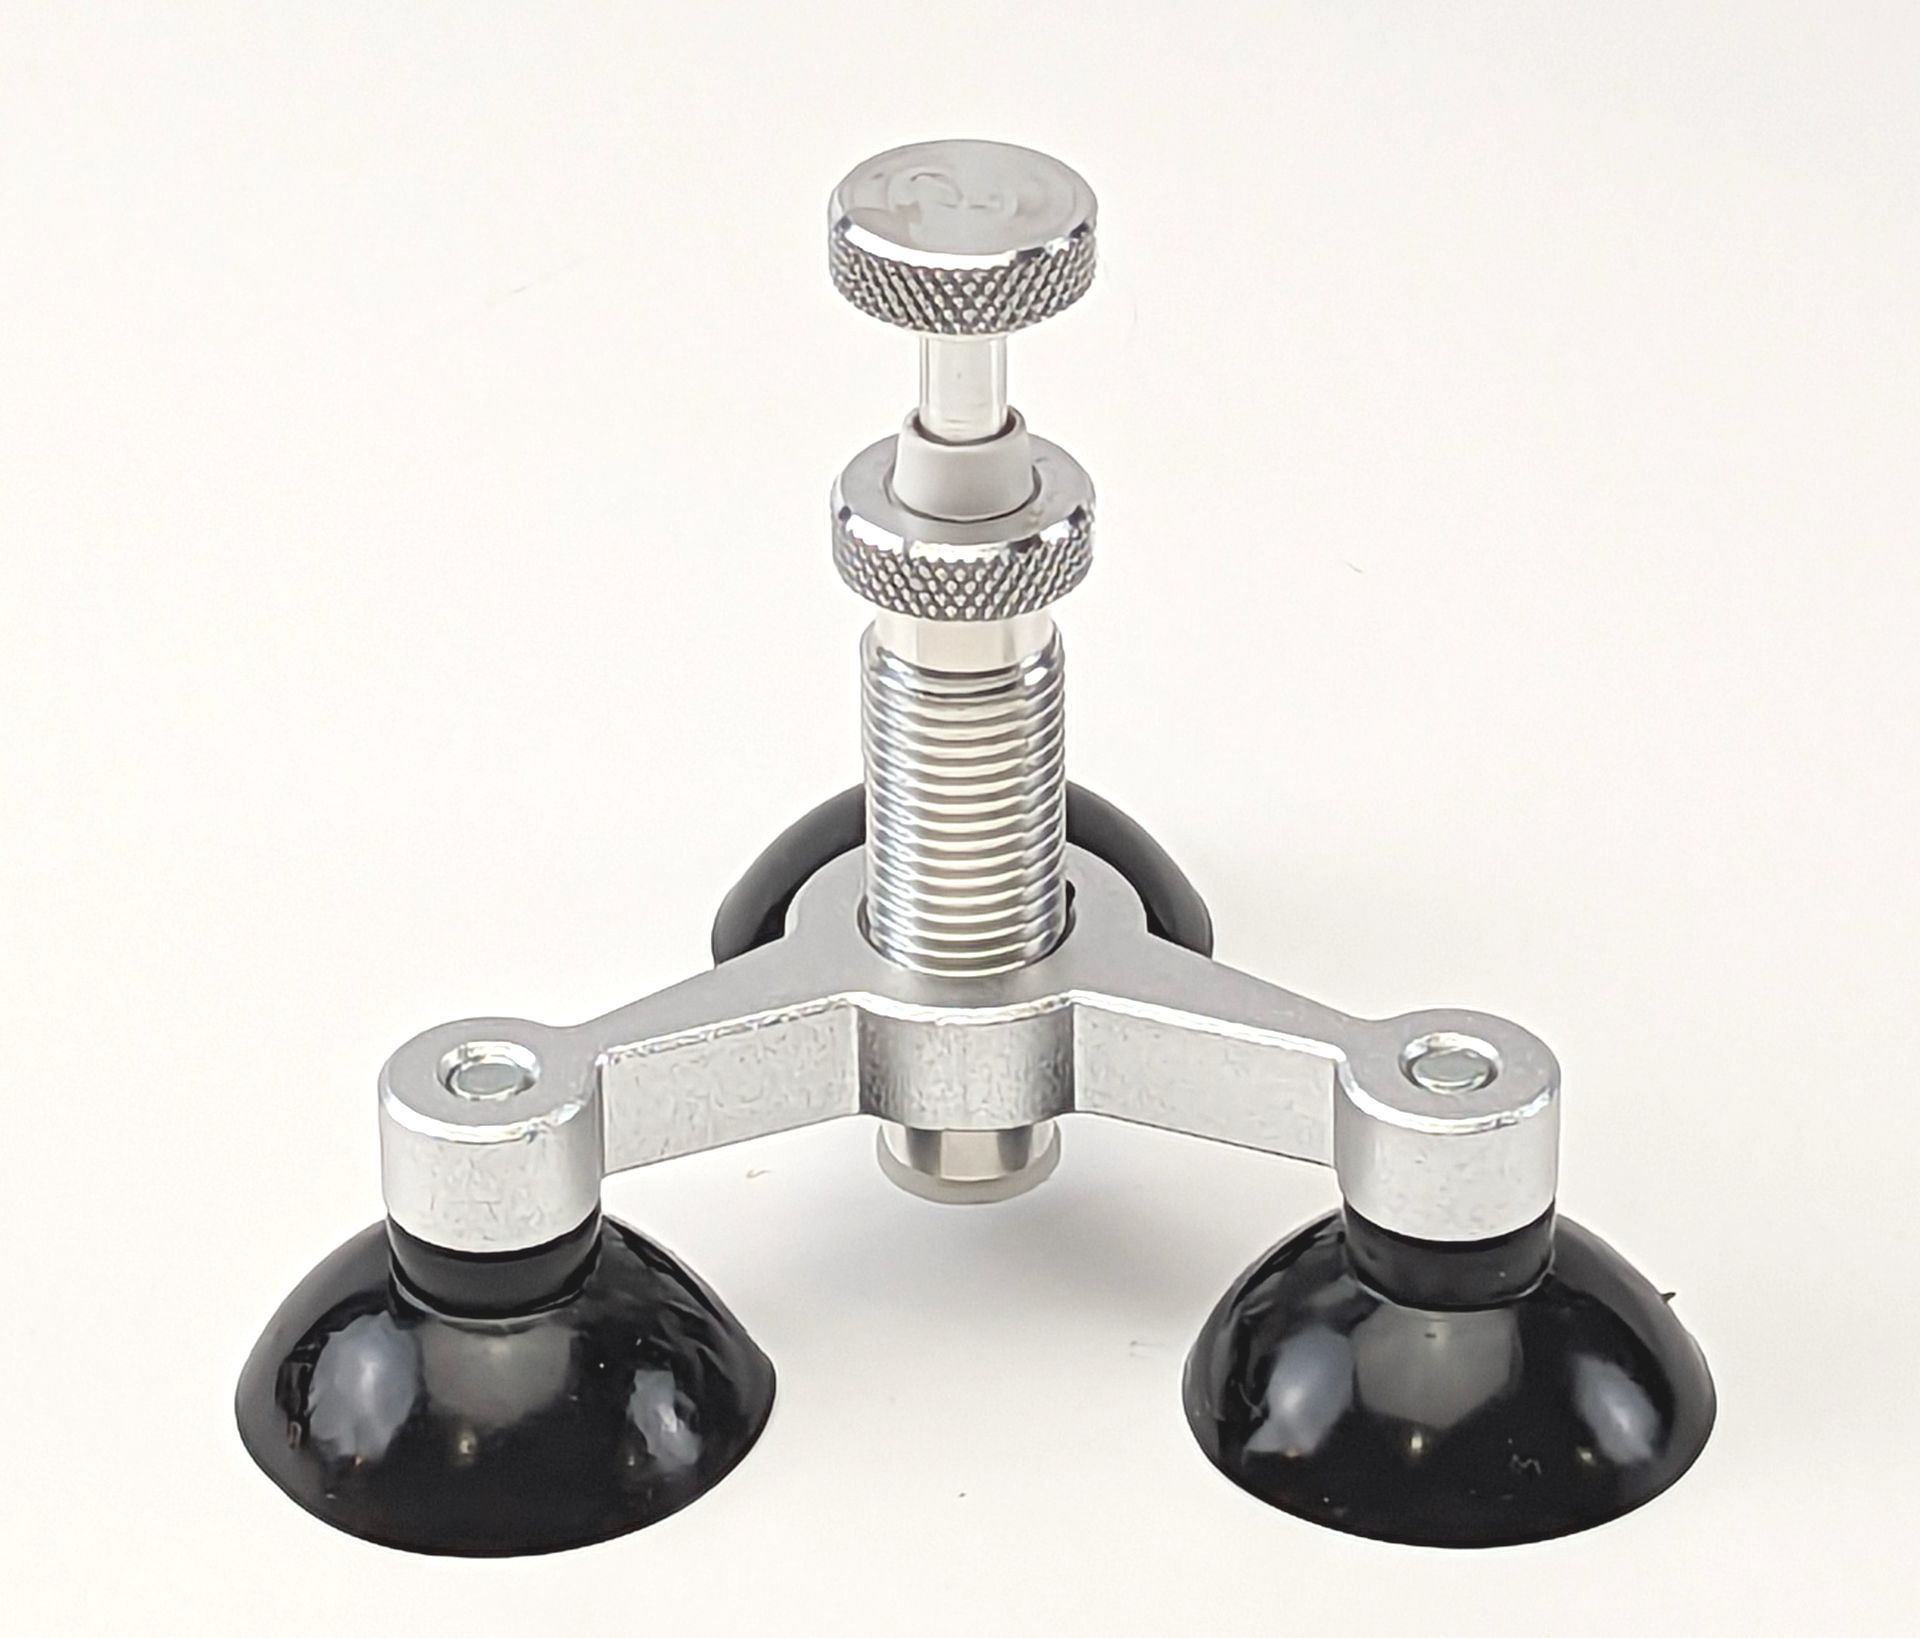
A windshield repair tool consists of two basic parts, (1) the holding structure and (2) the injector.
It is the holding structure that determines the efficacy of a windshield repair more so than the injector. This is a fact that other windshield repair tool manufacturers are not aware of as they spend their efforts making the injector look high tech when in fact as long as it has an o-ringed piston; a piston-cylinder is a piston-cylinder. It provides vacuum and pressure to fill a finite space, but it cannot manipulate the space,or void, you are trying to fill with resin. A superior structure offering control of the tension, compression and flex of the glass will make a world of difference by manipulating the finite space to open and close.
How it works.
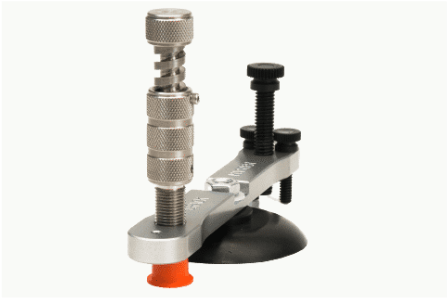
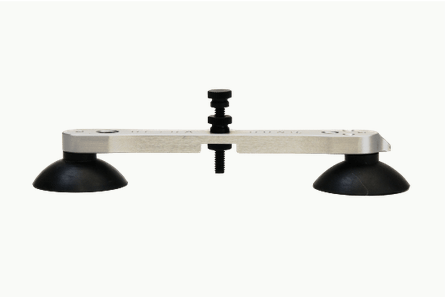
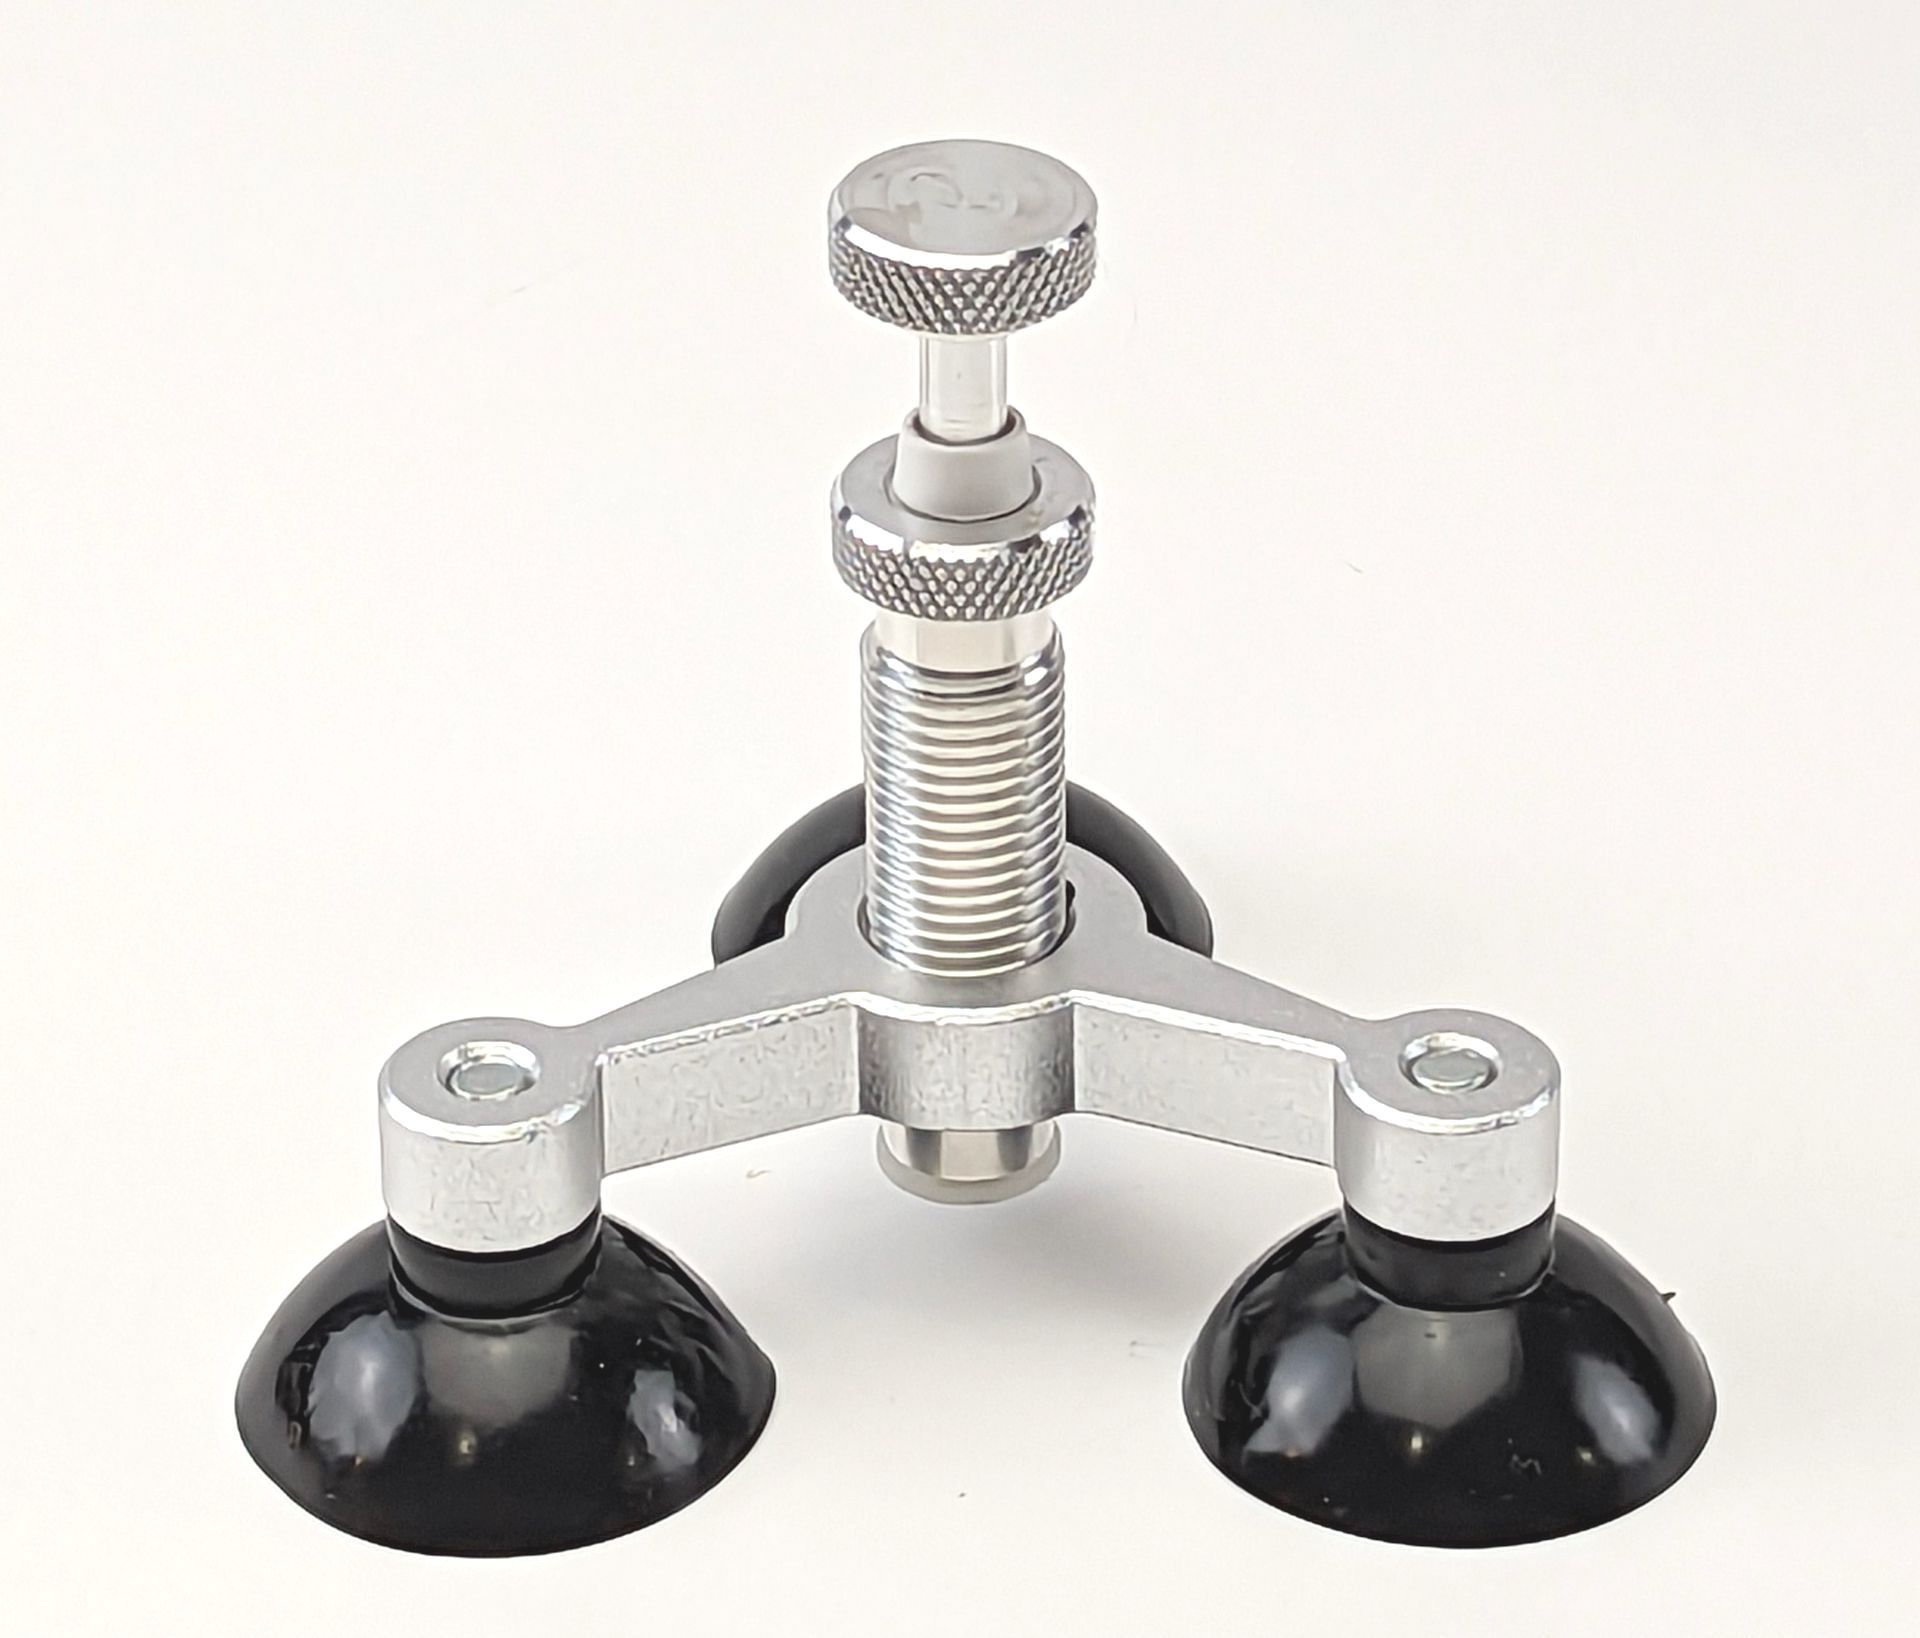
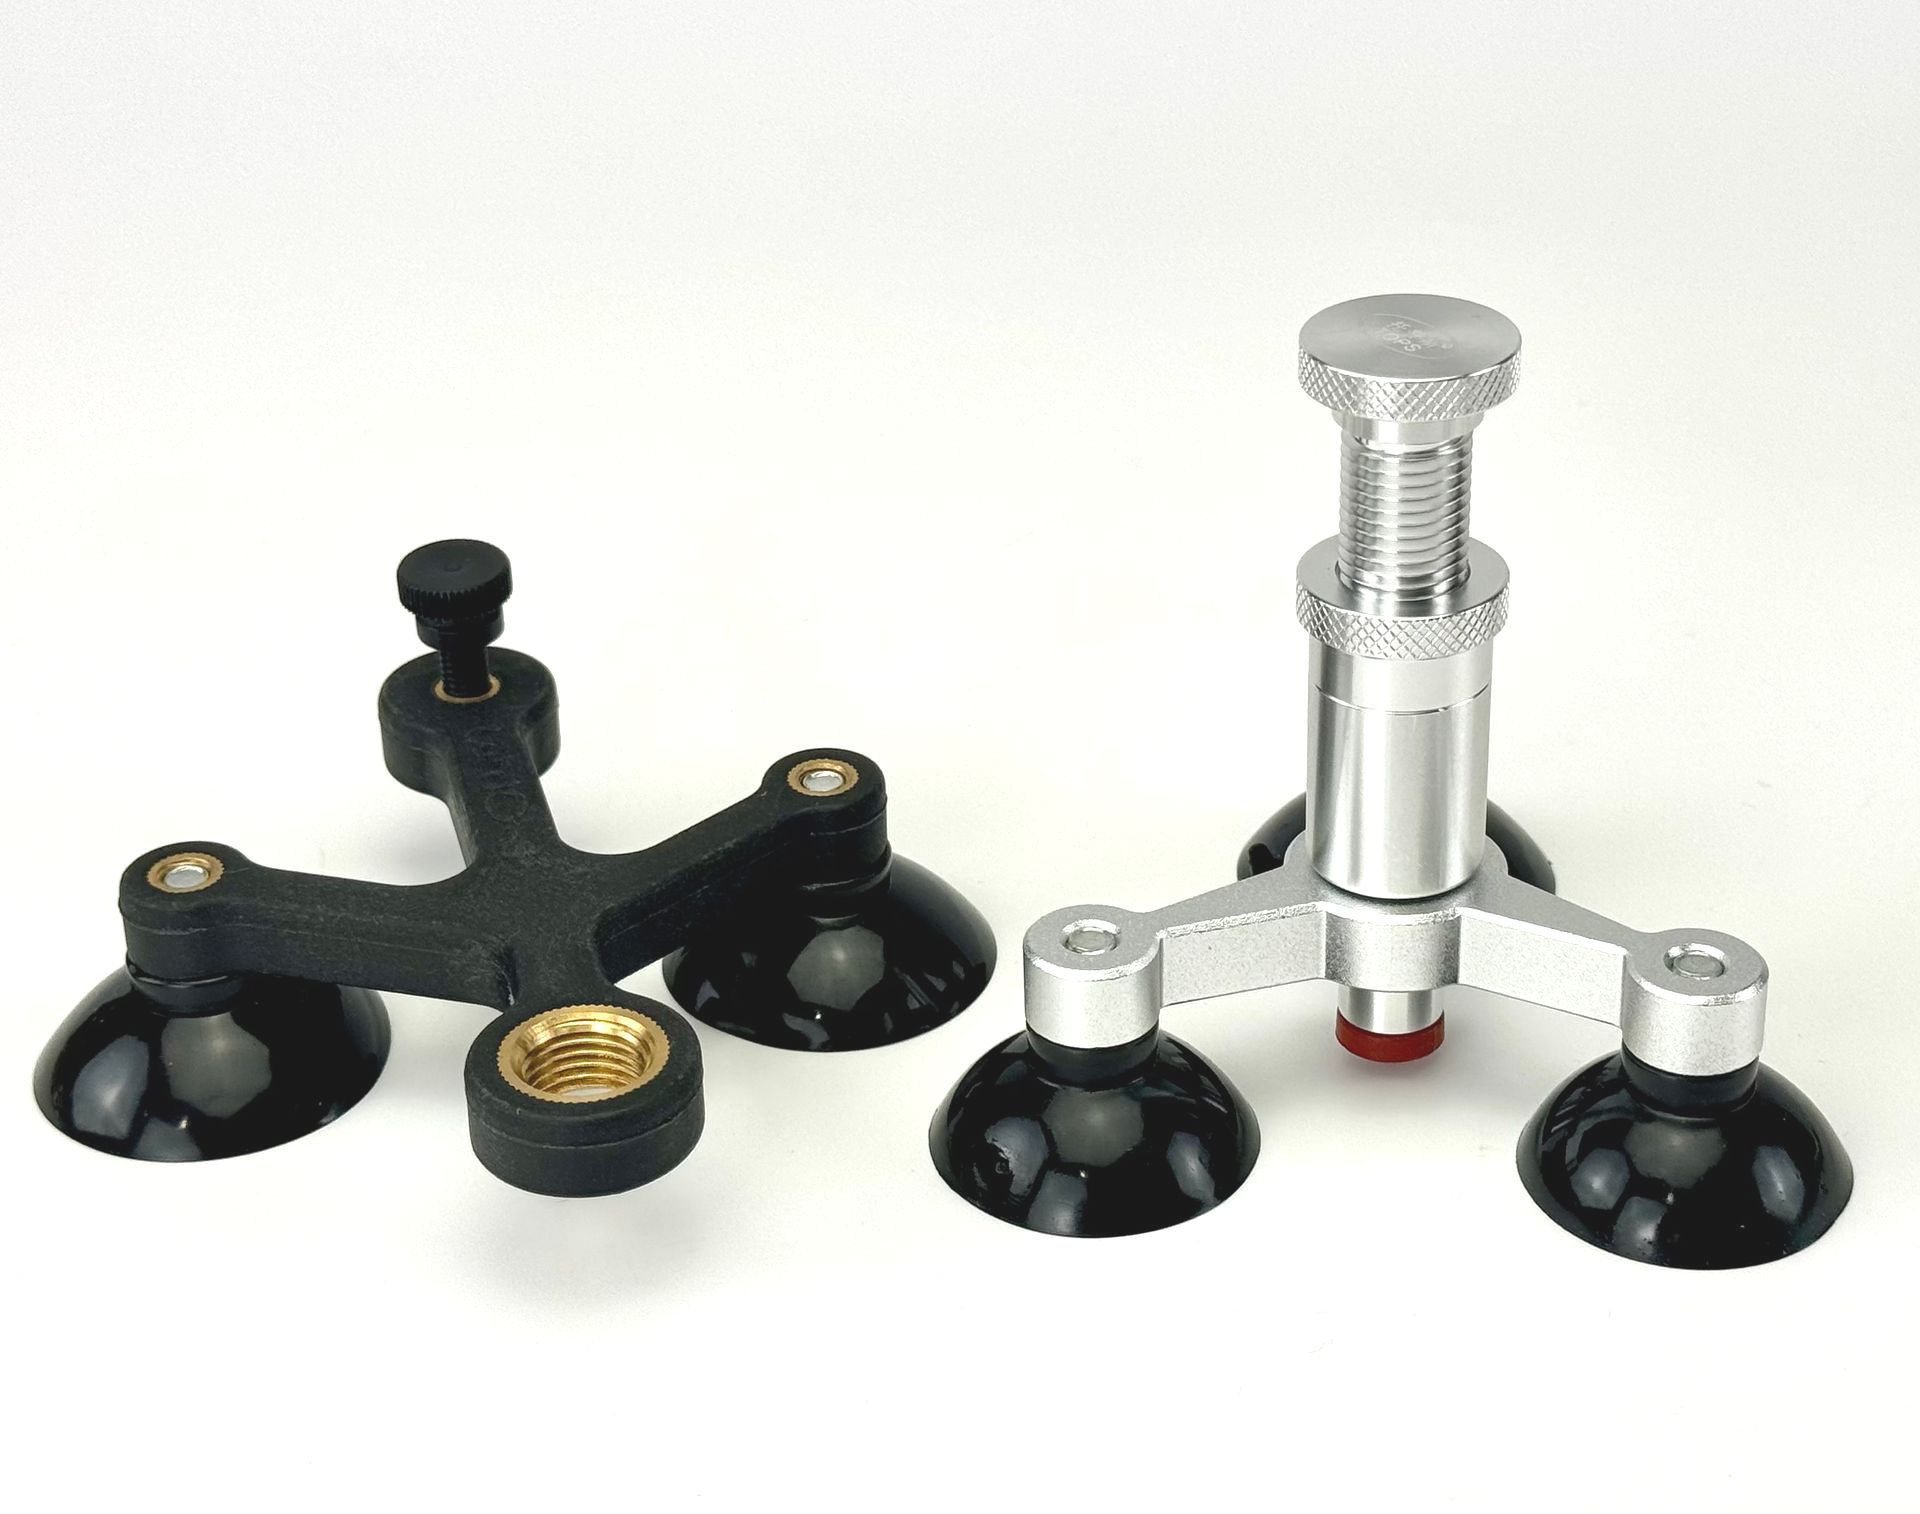
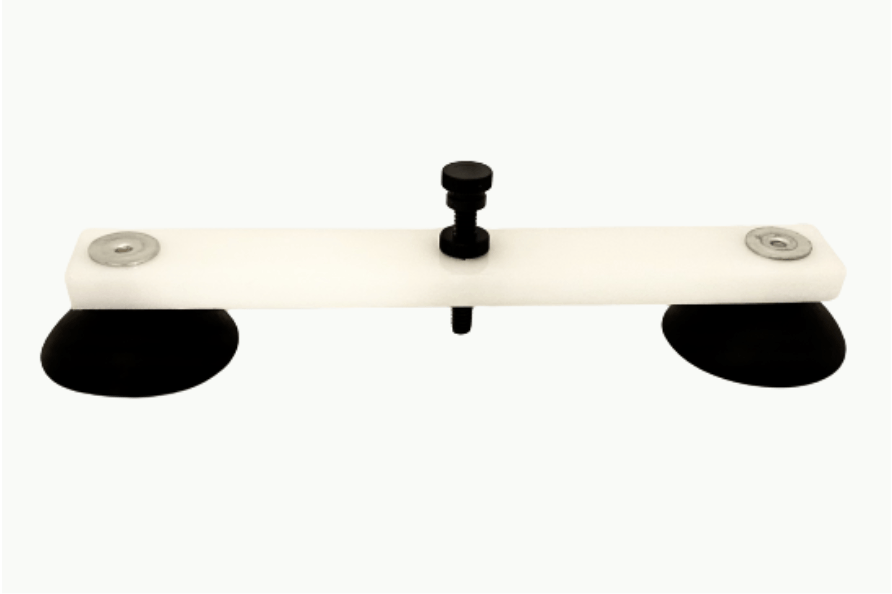
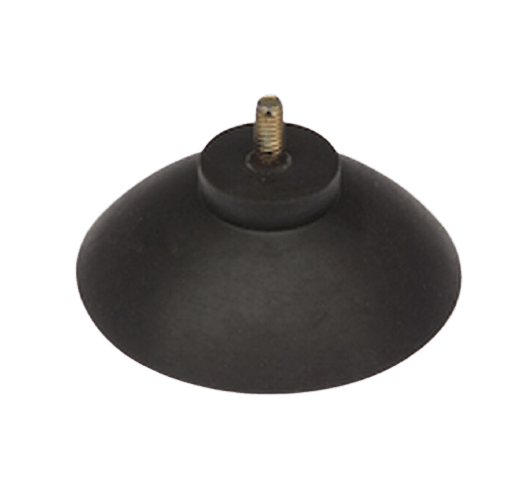
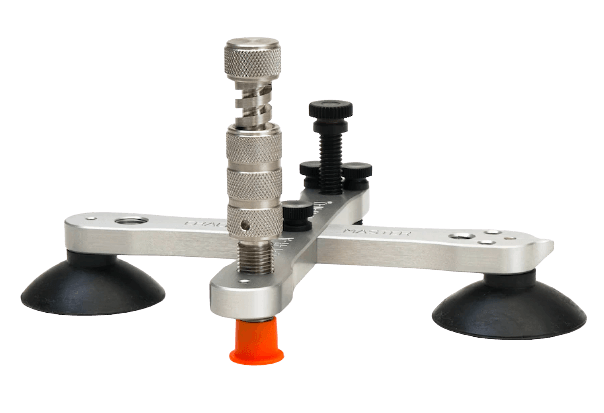
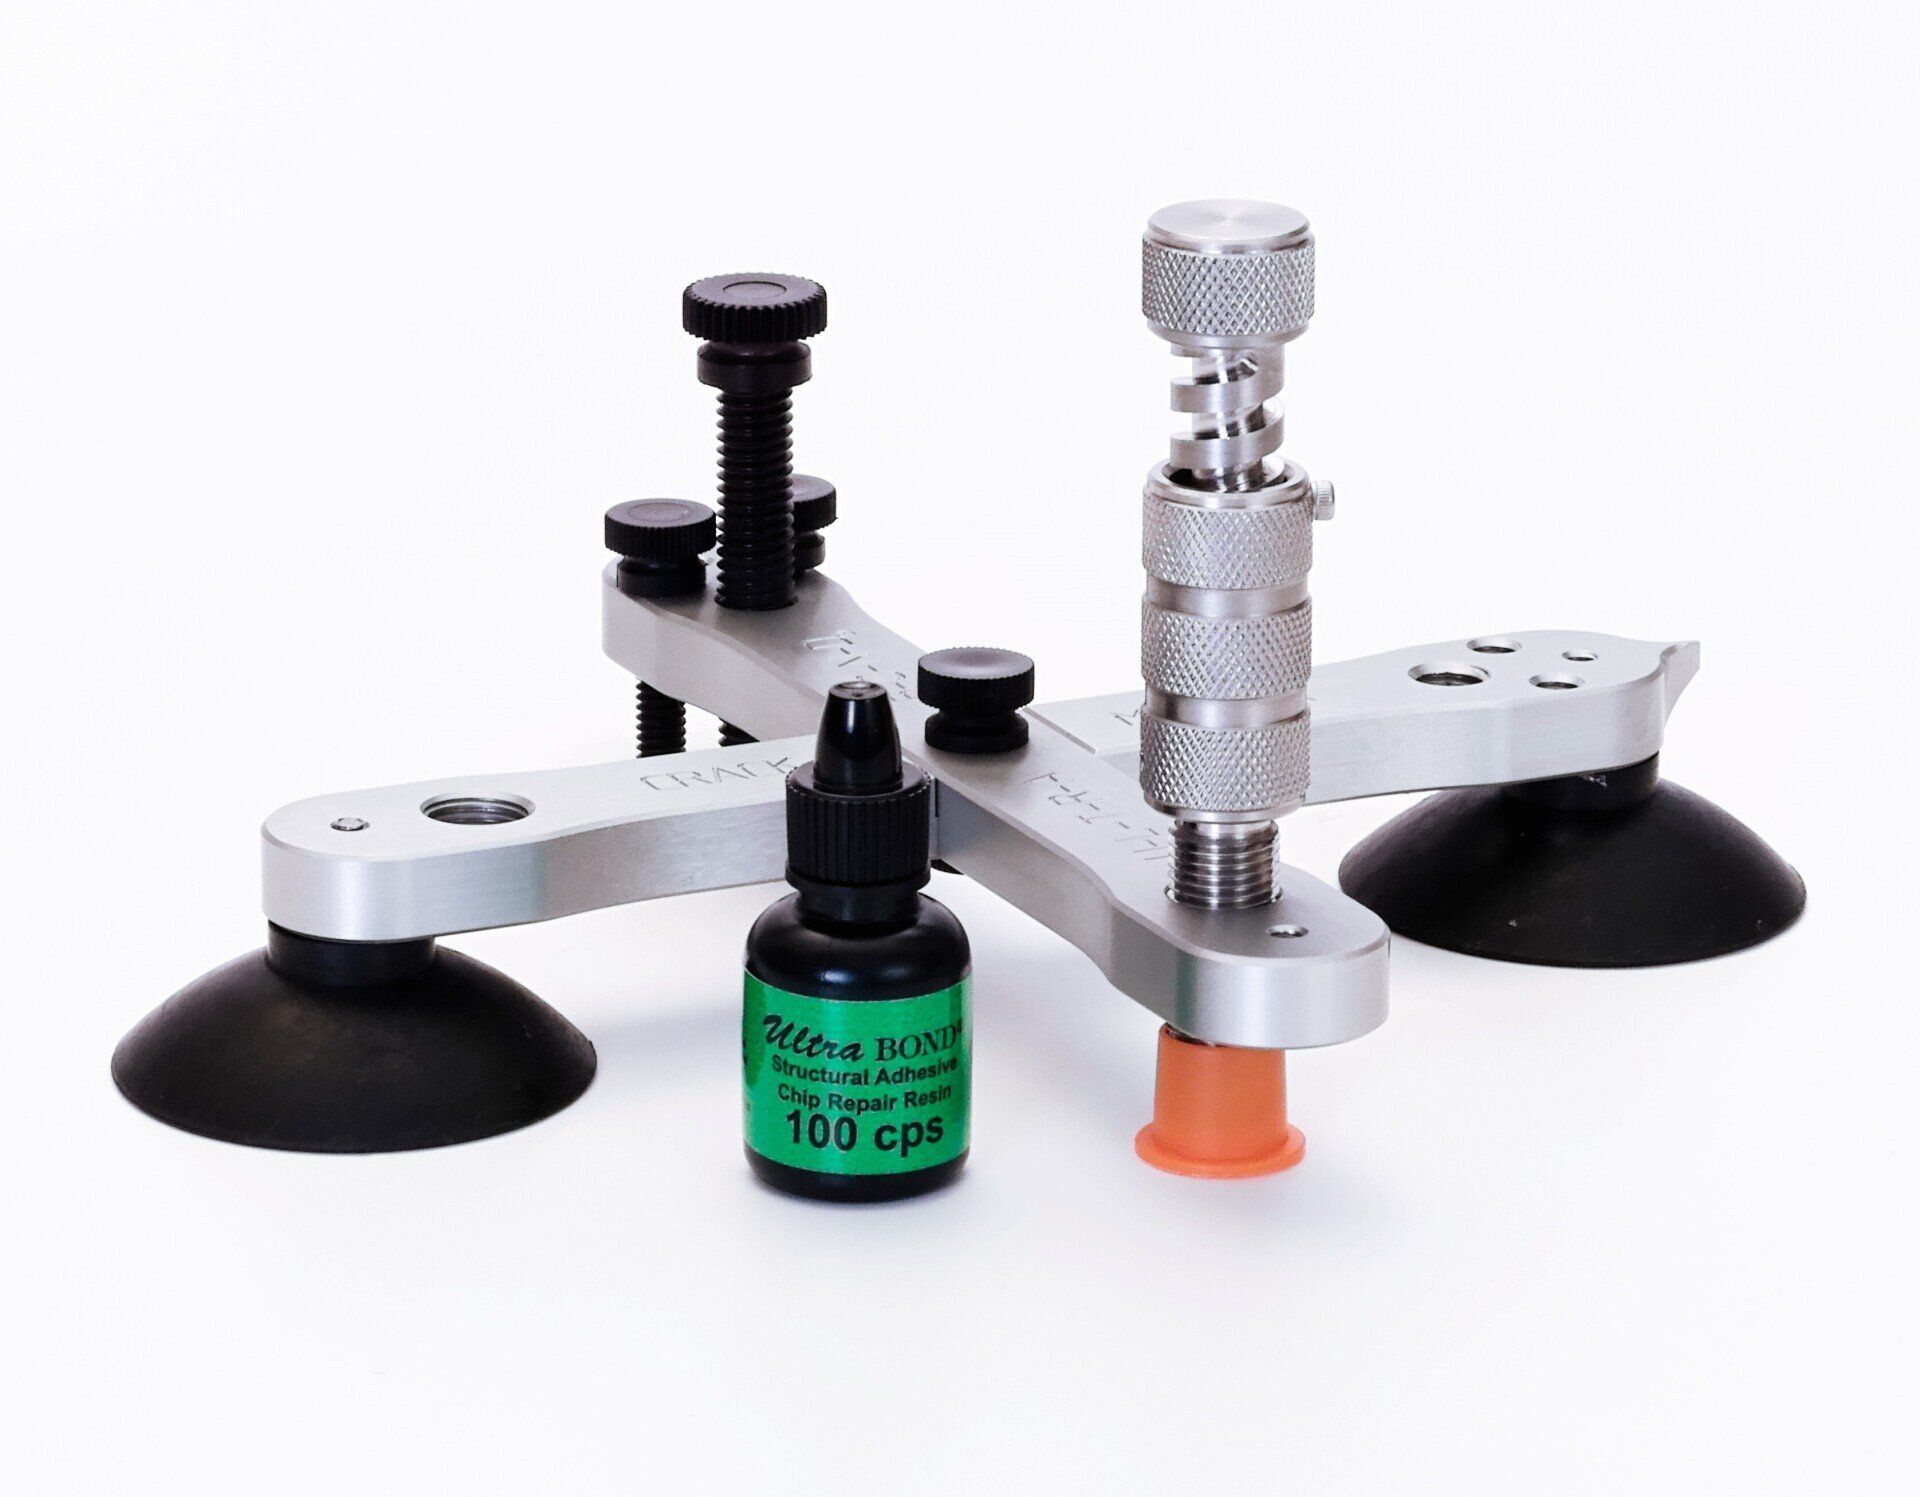
The Wonder Bar Bridge is the longest and widest windshield repair tool structure in the business. This offers more leverage, mechanical advantage and removes the tension from the suction cups away from the break. Suction cups that are too close to the break, too stiff or do not stay flat create tension on the break. This is why you use water thin resins and still have to manually flex legs. Also a bridge is a structure with support on two sides, like a bridge over water, it has supports on the ends. This differentiation was argued with the patent office in the first windshield repair patent by Warner in the 1970s. Using a single suction cup or a tripod of three suction cups circumvented that patent. Had that patent used the word structure instead of bridge it would have kept the majority of repair manufacturers in business today at bay until the patent expired in the mid-1990s. That is the patent that the Novus founder purchased. A windshield repair tool is only a bridge if it has two suction cups at the ends. If it has three or only one, it is not a bridge, it is a structure. A bridge produces superior leverage and compression control over a single bar, tripod or single suction cup structure. The Wonder Bar Bridge flexes breaks open like no other tool in the world; in fact, it can repair all stone-break types with 100 cps resin with or without the piston in the cylinder.
The Wonder Bar Tool Design makes All the Difference
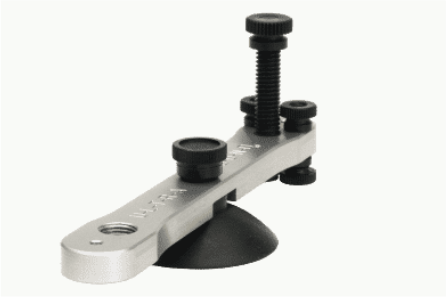
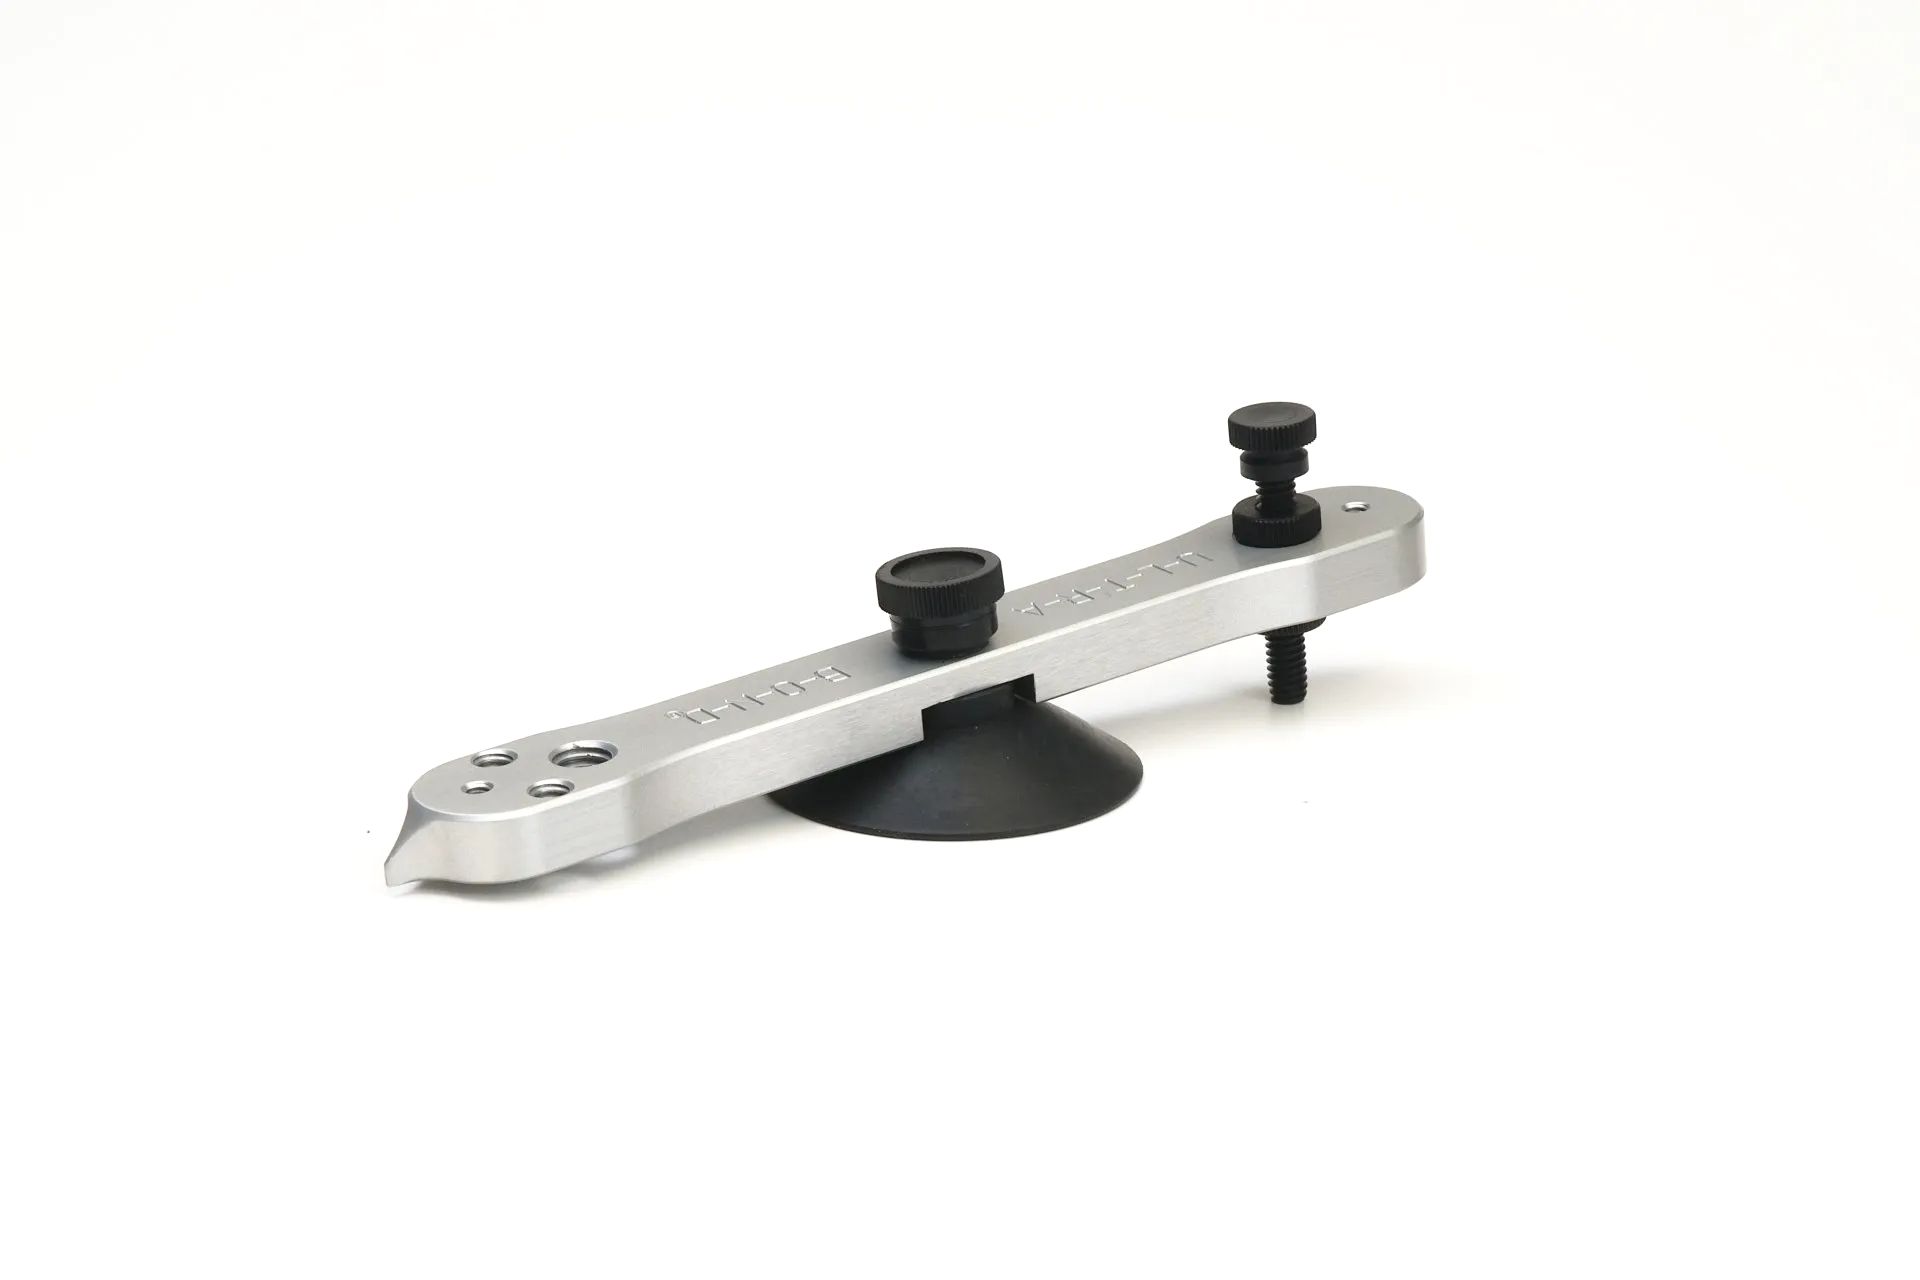
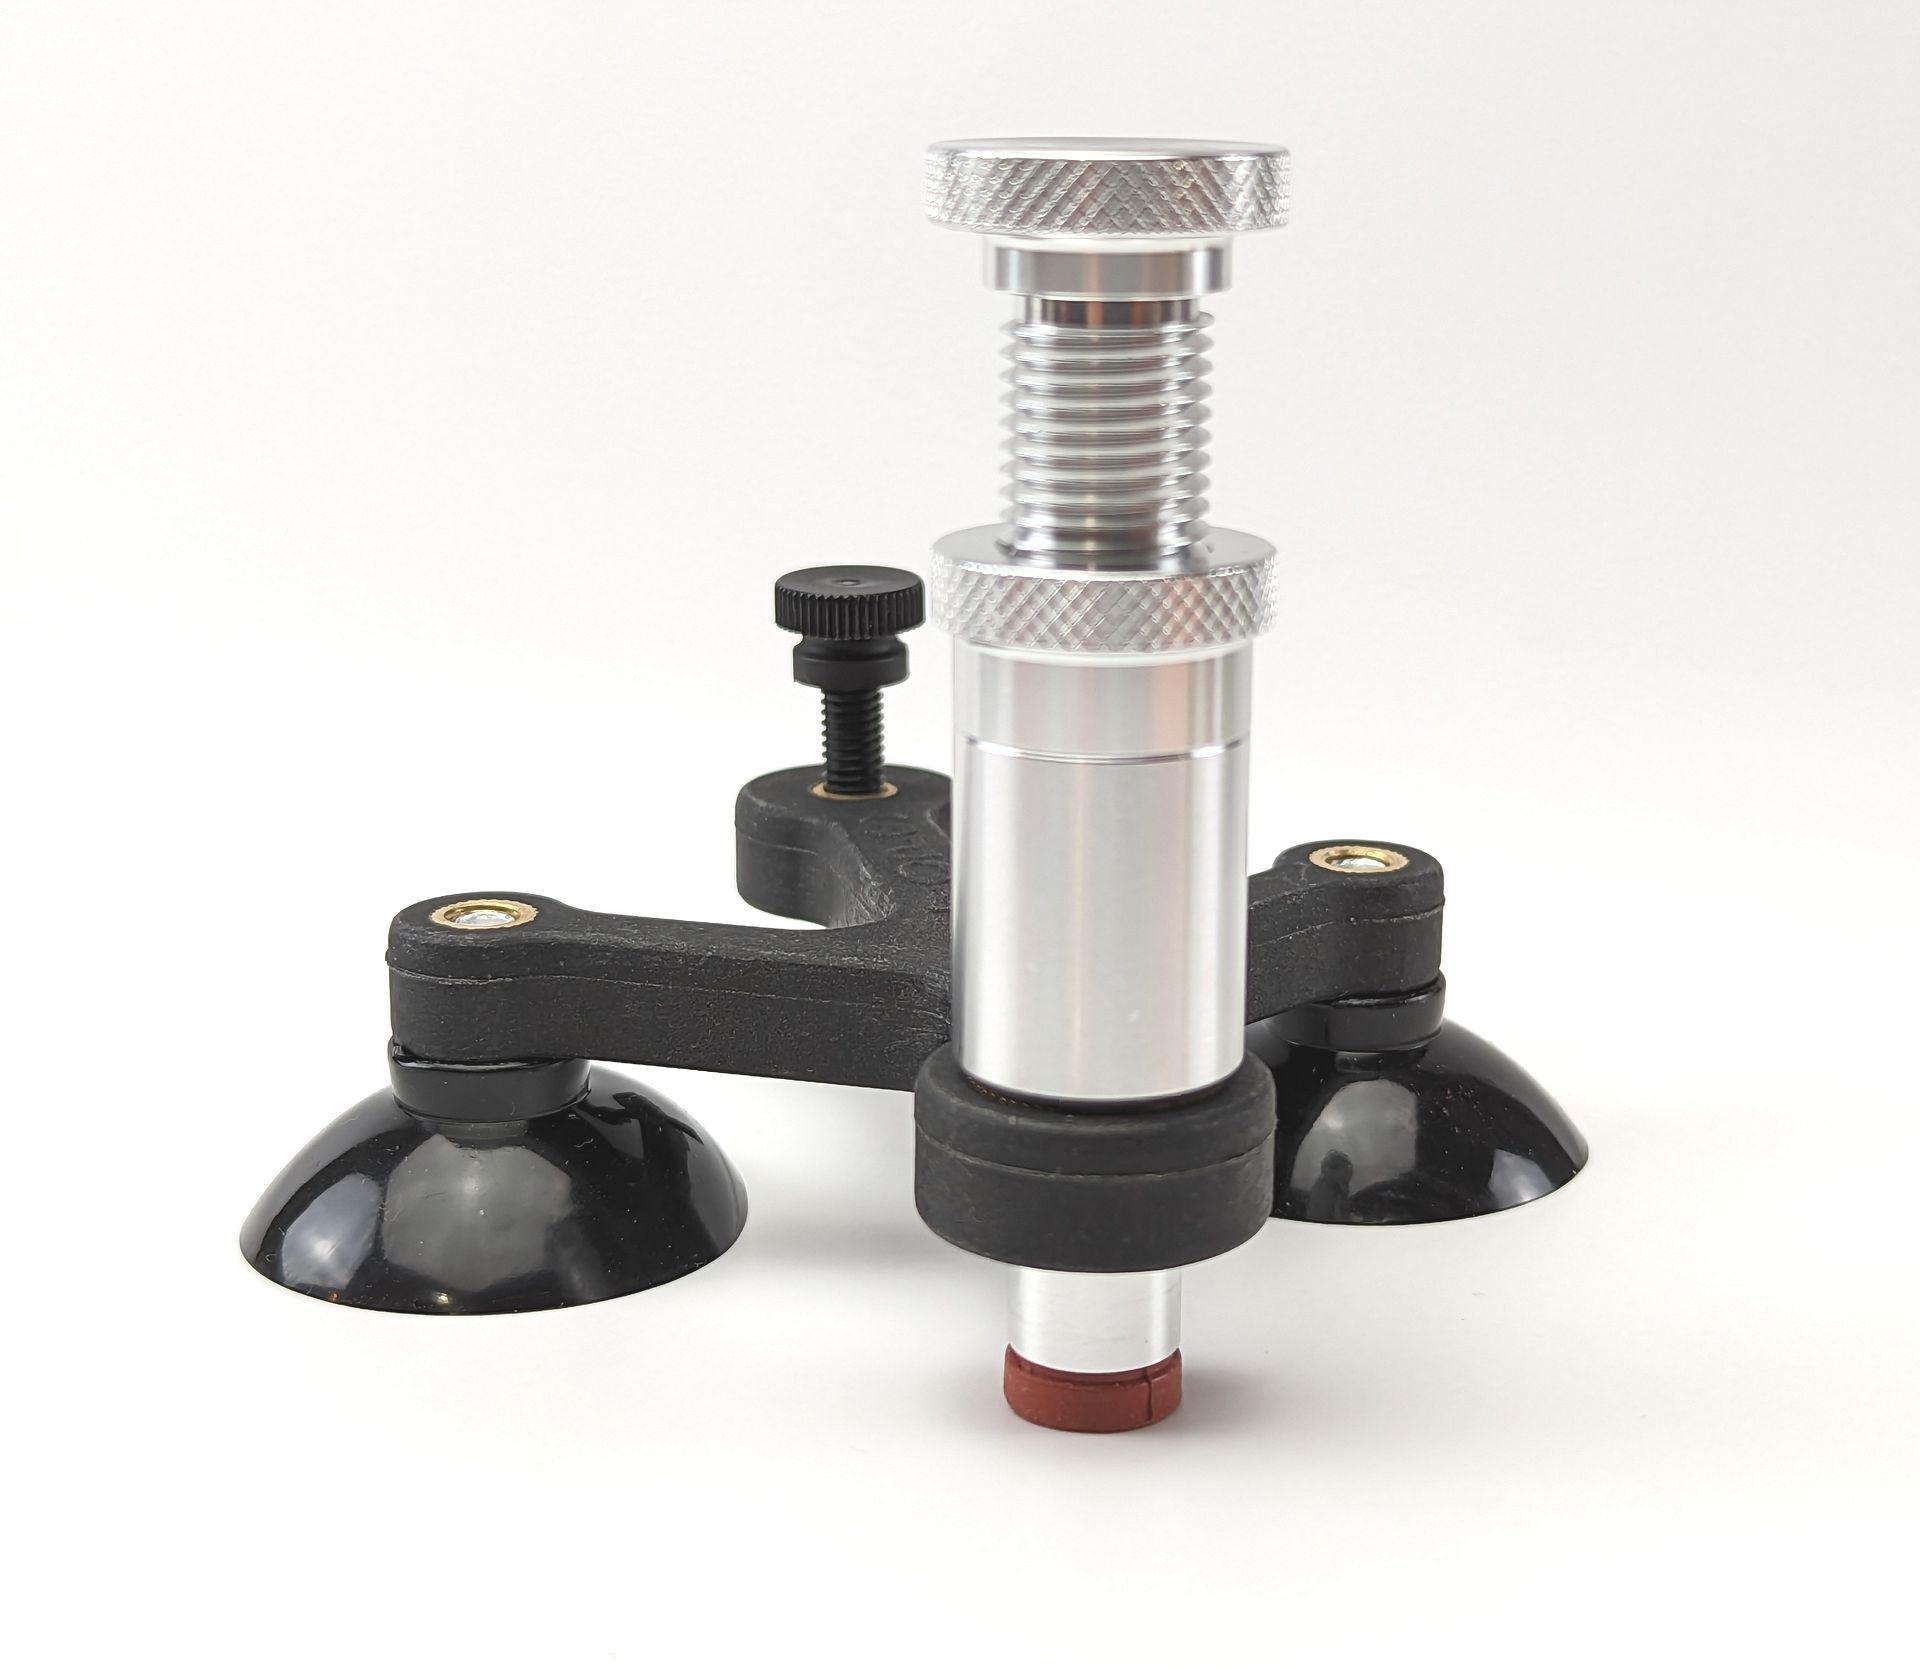
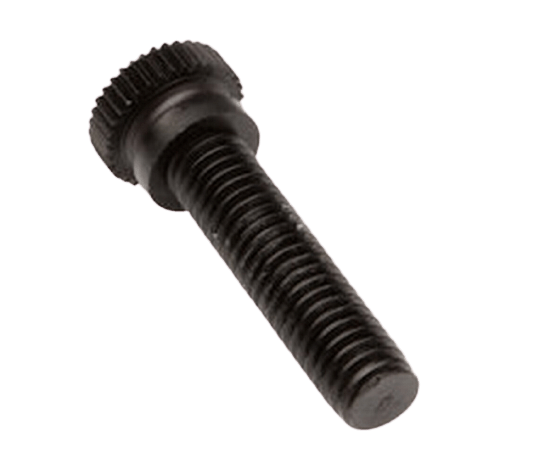
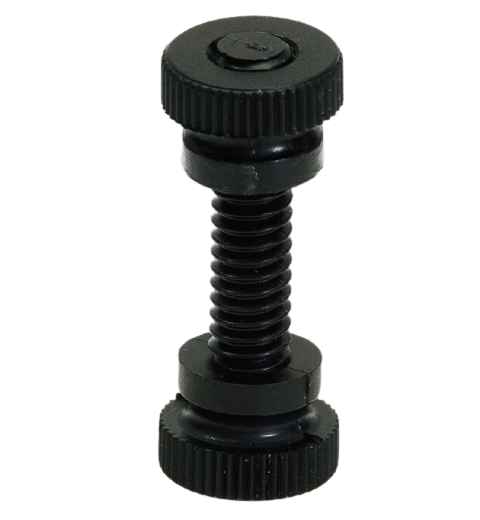
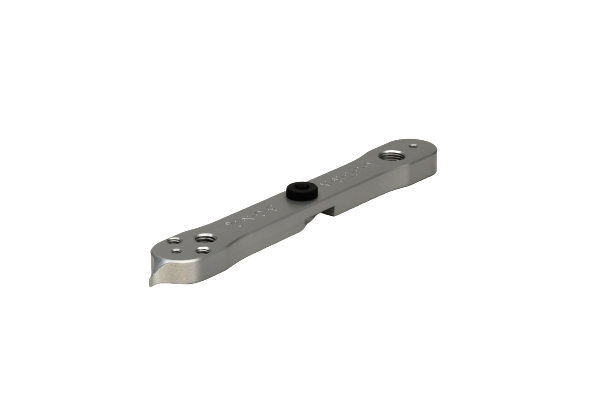
The back of the Wonder Bar Tool has a flex bolt and two adjustable and lockable leveling / stabilizing bolts that put a minimum amount of pressure or flex on the stone- break when you level the injector. The injector is in a balanced postion away from the end of the bar. This creates symetrical compression / flexing (opening) of the entire break. The center pressure/flex bolt in the back is for increasing and decreasing the flex/compression on the glass via the bottom of the injector cylinder which will enable you to increase and decrease flexing the entire chip so you can open and close, open and close the entire break, just like when you manually flex a single leg of a star-break with your hand and a probe, only now you can flex all of the legs open at once from the start of the repair.
Easy Steps to Using the Wonder Bar:
Flex and Release, Flex and Release Method.
- Mount the tool with the injector flush with the bottom of the wonder bar so it cannot touch the glass while you mount the structure. The pressure bolt is also up so it does not touch the glass when mounted.
- Level the injector with the two stabilizing bolts.
- Put the piston in vacuum mode for a few seconds and then into pressure mode.
- Increase the flex by turning the pressure/flex bolt in the back center and then the cylinder to increase the compression on the break. This will flex the entire break and all of the legs open.
- Watch the resin move up the legs. Once the flow slows down, decrease the flex by lowering the pressure bolt and the cylinder back to the level of the two stabilizing bolts. The resin will scoot forward into the tips of the legs and the perimeter of the bullseye creating a complete fill in seconds.
- What happened was an overfill was created and the resin can only go in one direction-forward. This wicks the glass better; replaces and is much faster than vacuuming. It creates more interaction between the resin and the glass than a vacuum does because it is by physical force in an opened and then closed space.
- You will notice the break is now completely filled. You do the flex and release cycle a second time if you wish for even more interaction, which is what I do.
- Time to cure. Lower the pressure/flex bolt off of the glass and then lower the cylinder back down to the level of the two stabilizing/leveing bolts. Leave the piston in the pressure mode and cure under pressure for two minutes.
No More Flowering!
Using low viscosity resins, especially when glass is hot and the PVB is soft can cause flowering. The pressure on thin resin coming from the piston causes flowering with thin (low viscosity) resin by pushing it beyond/under the perimeter of the break in between the glass and the PVB, which then causes a permanent distortion. To avoid this, you can (a) use our 90 or 100 cps resin which is too thick to flower or (b) do the repair with 40 or 45 resin but without the piston, just the cylinder – NO piston - see our video on conducting a tool test.
Use the flex and release, flex and release method from above until the chip is completely filled.

