
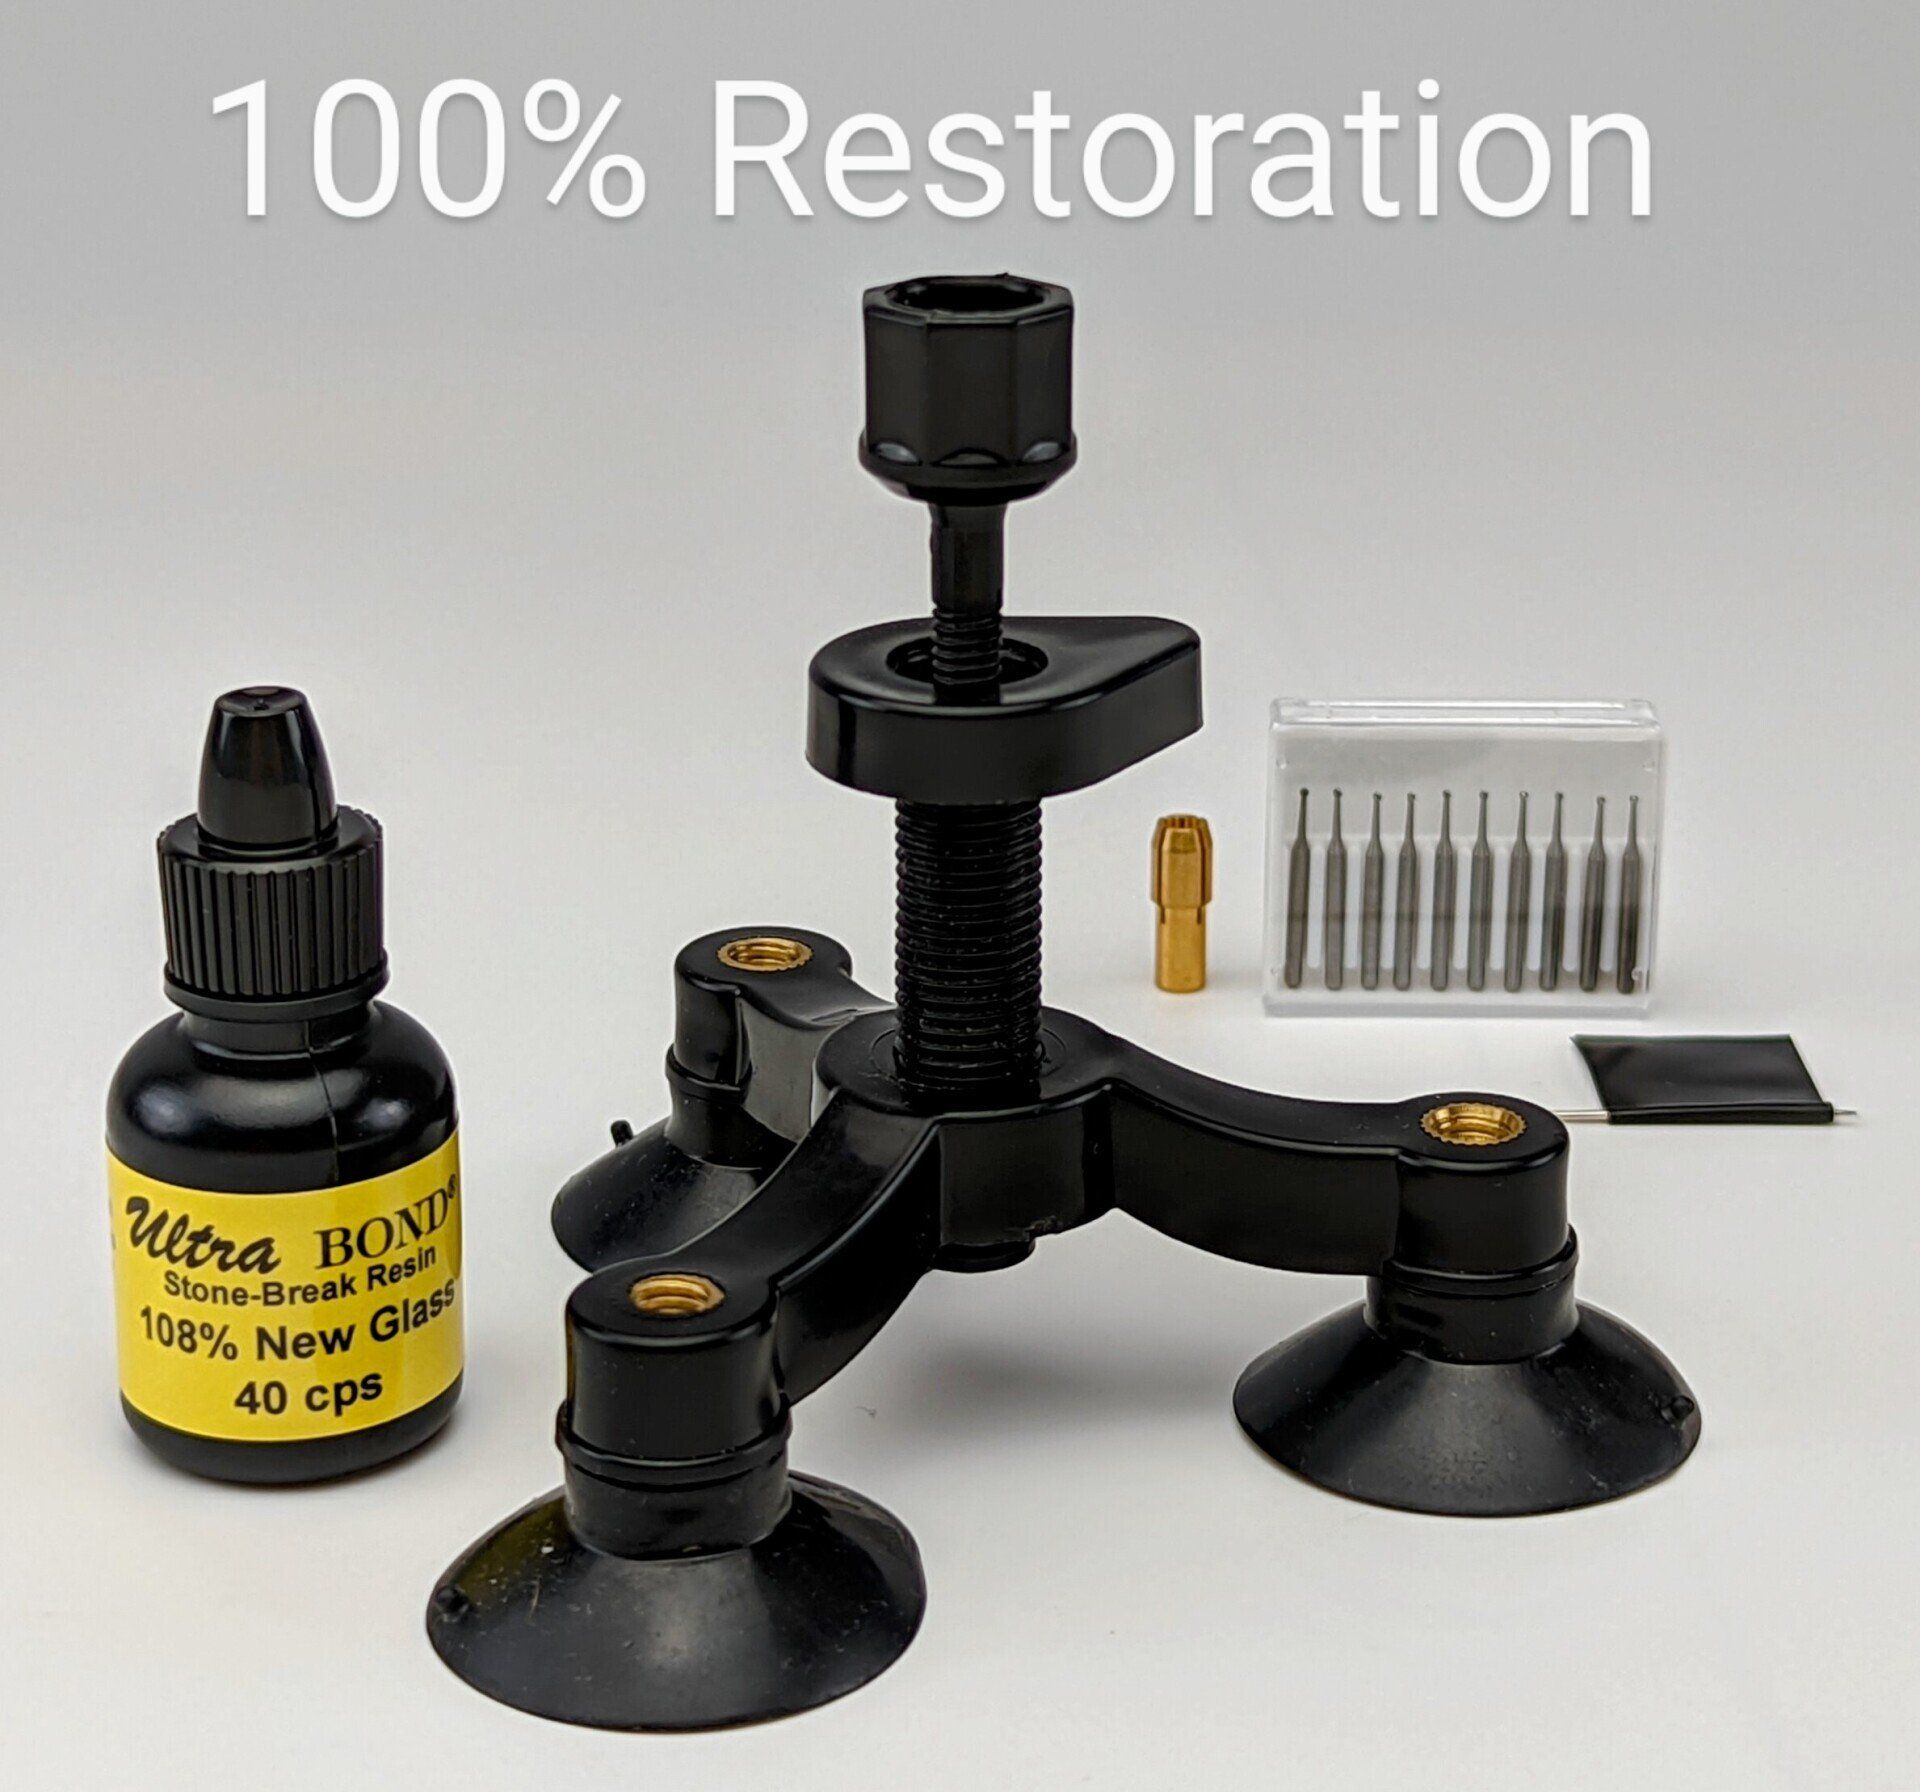
Eco Pro DIY Chip Repair Kit Instructions
This Economy Windshield Chip Repair Kit for the Silver or Black Tool for either a new or existing professional windshield repair business or for the DIY person.
The windshield is the 3rd most important safety device in a vehicle. Ultra Bond is the only Brand Tested to the American Auto Glass Industry ANSI Approved Windshield Repair Standard called the Repair of Laminated (ROLAGS)with an average Mechanical Strength Score of 100% New Safety/Windshield Glass. No other chip repair achieves 100% restoration.
A poorly repaired chip can compromise the airbag, roof-crush, and penetration resistance in an accident. Do not gamble with your family's safety. If you have ever been in an accident, you know it is the windshield that protects your face, head and upper body.
- Written instructions and pictures are below.
Step #1
It is recommended that you read the complete Ultra Bond Chip Repair Manual and VIDEOS along with theses instructions. Complete chip repair manual link is at the bottom left of this page. Link to Videos are at the of this page.
Other Items you will need:
- Teaspoon for tapping a bullseye with the needle in your kit after drilling half way through the outer layer of glass.
- Rubbing alcohol to clean tool injector and injector seal- dip and remove, DO NOT SOAK.
- Petroleum jelly for the suction cups.
- SprayAway Glass Cleaner is the best - sold at Sam's Club
- Sharp 2" wood screw for probing the impact point.
- Small screwdriver for removing the tool suction cups off the glass and to flex any legs that are not filling.
- Cordless Rotary Tool/Drill if your break requires drilling. See Drilling Section and pictures in our full chip repair manual of breaks that require drilling.
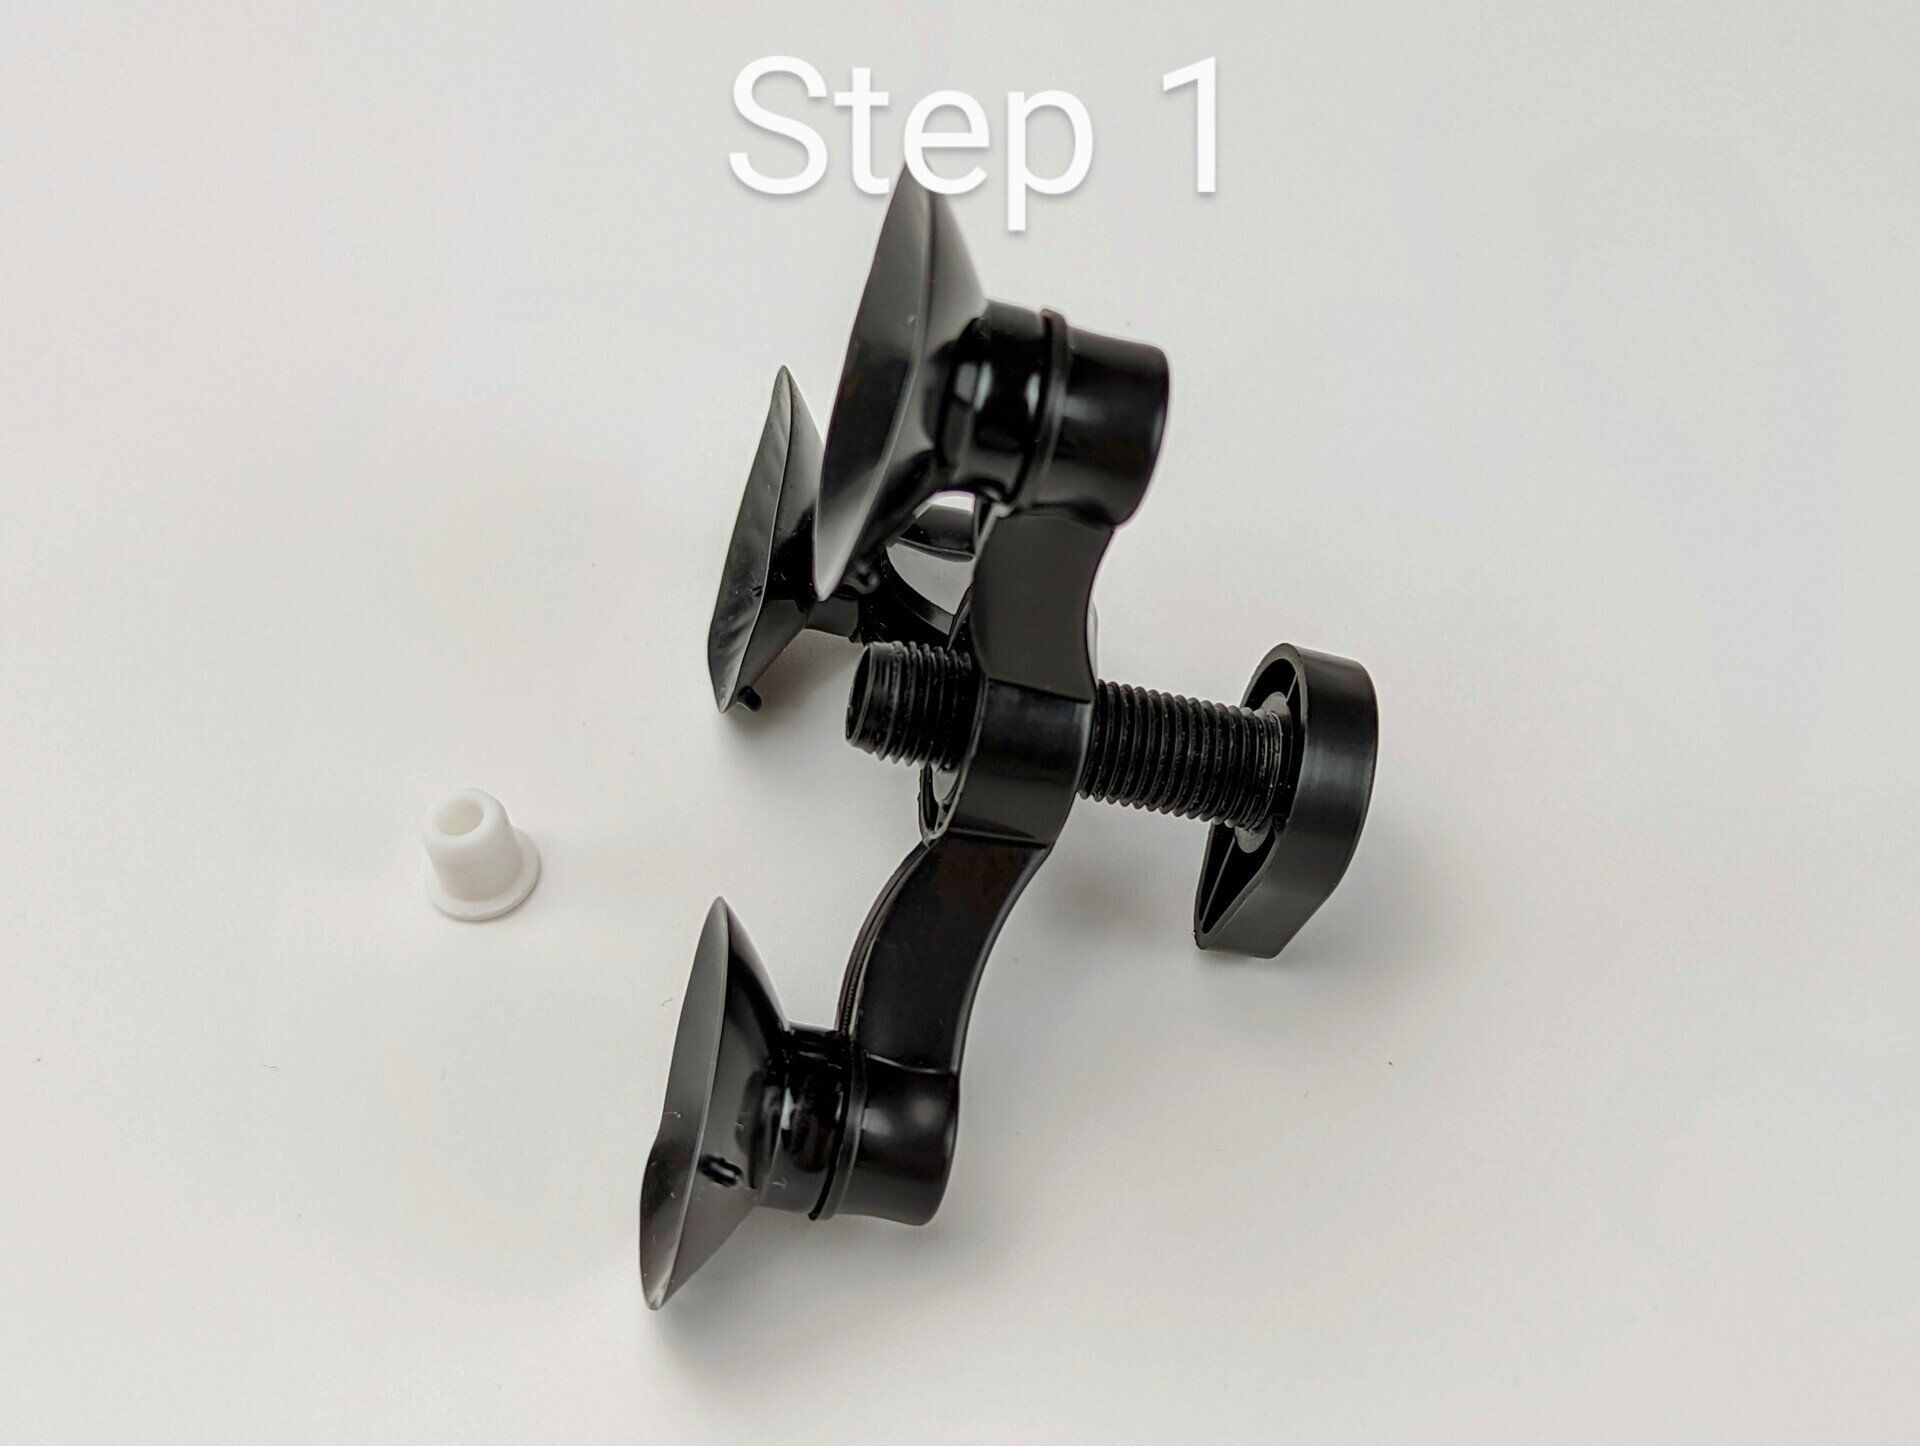
(a) Remove small loose glass fragments from the impact point by scraping over it with a sharp 2" wood screw or nail. (b) Lubricate the suction cups with a small amount of petroleum jelly. (c) Screw the cylinder into the tripod.

Step #2
It is recommended that you read the complete Ultra Bond Chip Repair Manual and Videos along with theses instructions.
- Insert the white grommet sleave/seal into the cylinder base.
Note: Suction cups can slide and be moved when lubricated.
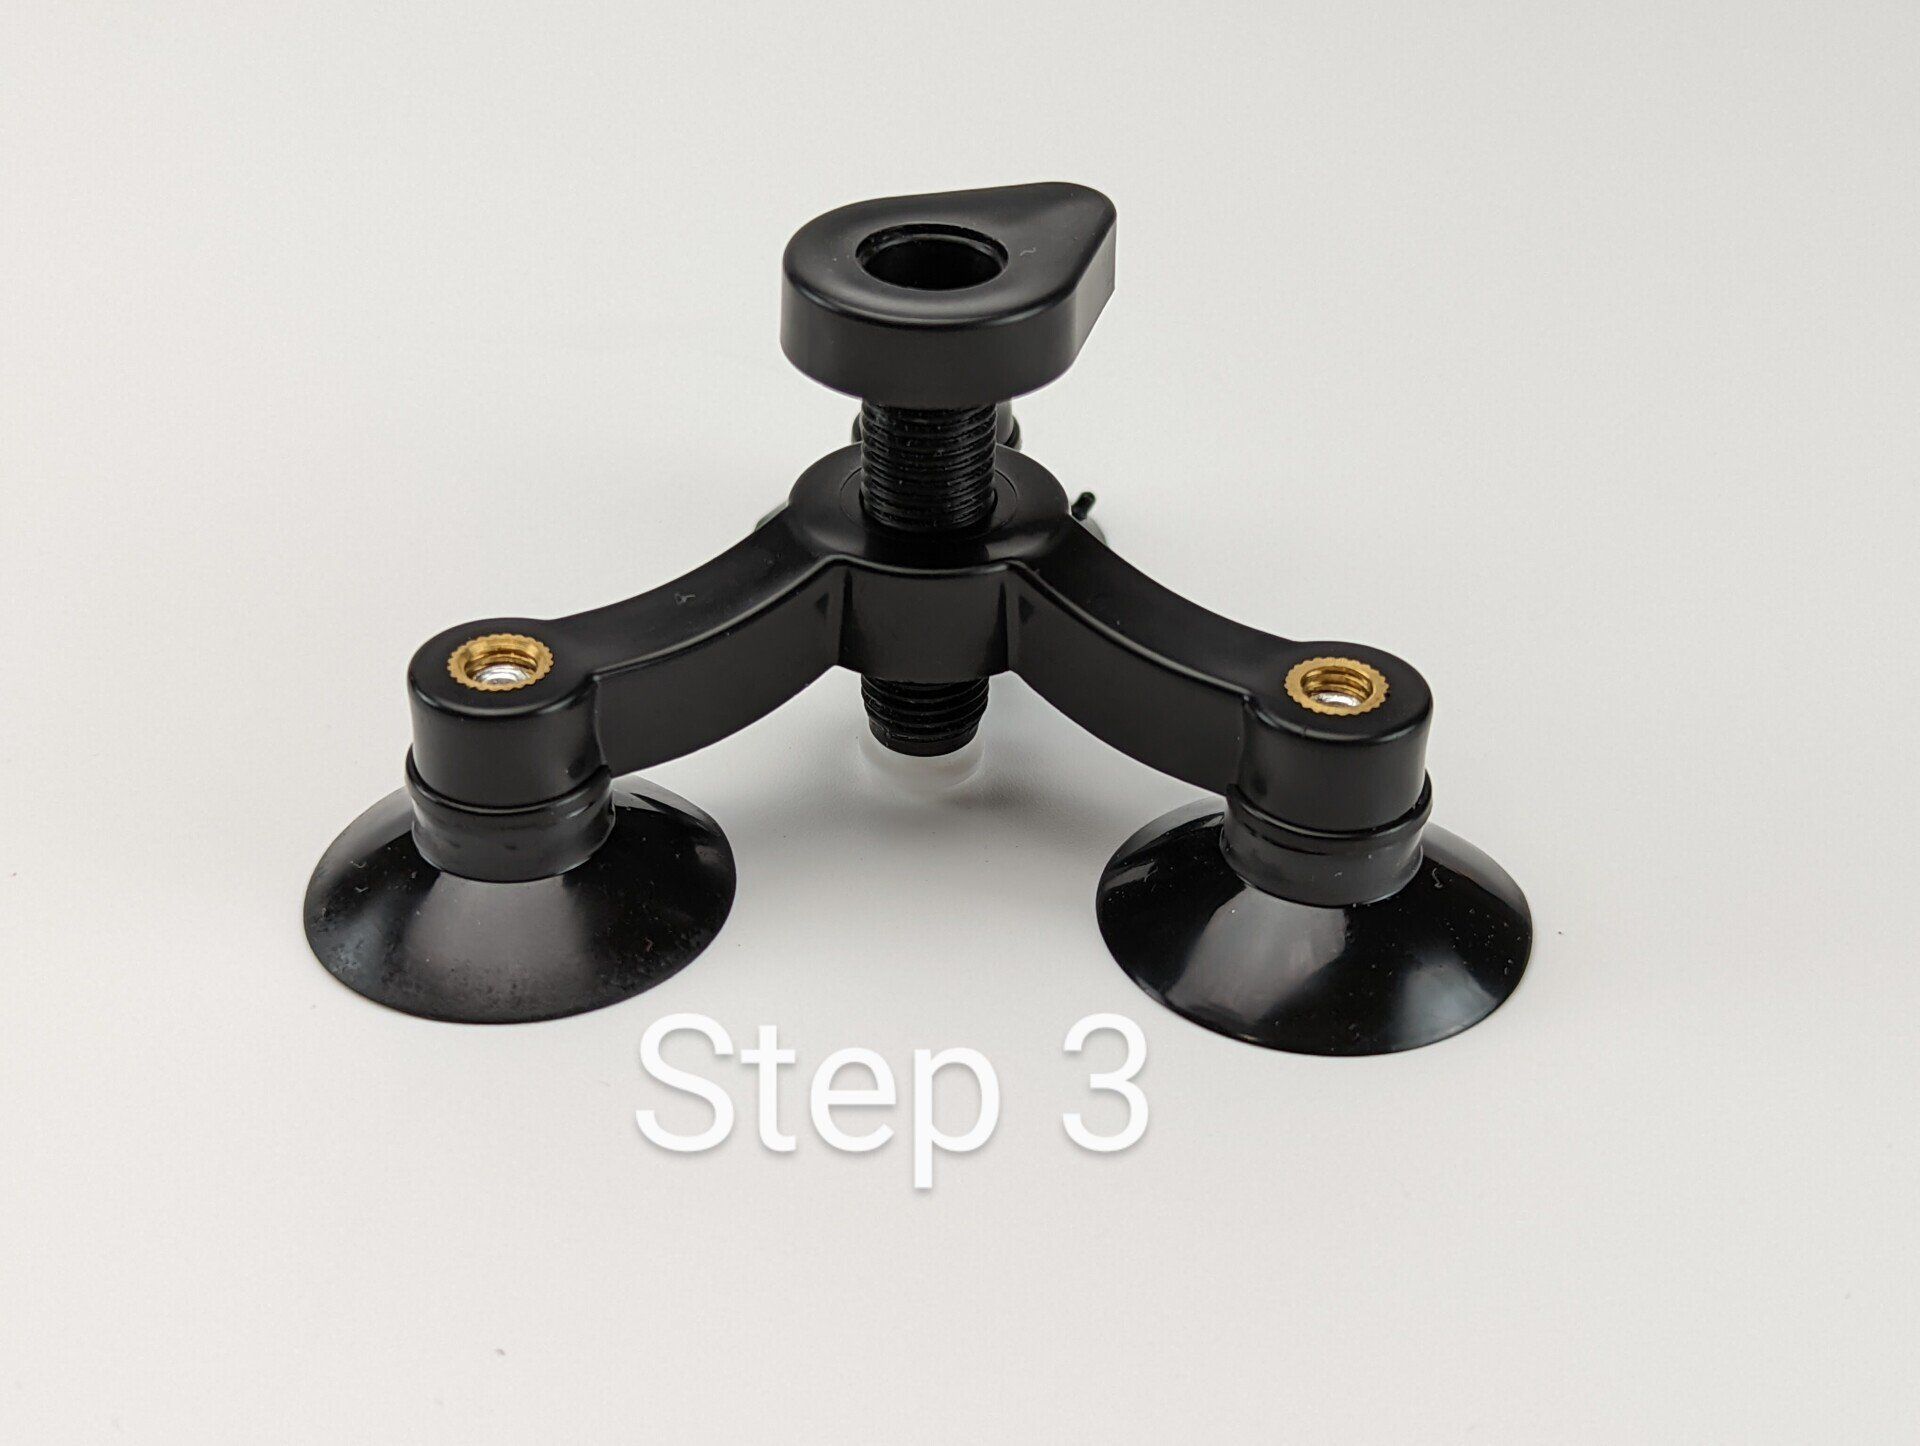
Step #3
Affix the applicator base to the windshield.(f) Look down the cylinder hole and line it up with the impact point of the break. Then insert the cylinder into the holding structure (Tripod) with the hole in the white seal over the impact point. Make sure the ring is centered above the breaks impact point. Do not cover any cracks with suction cups.
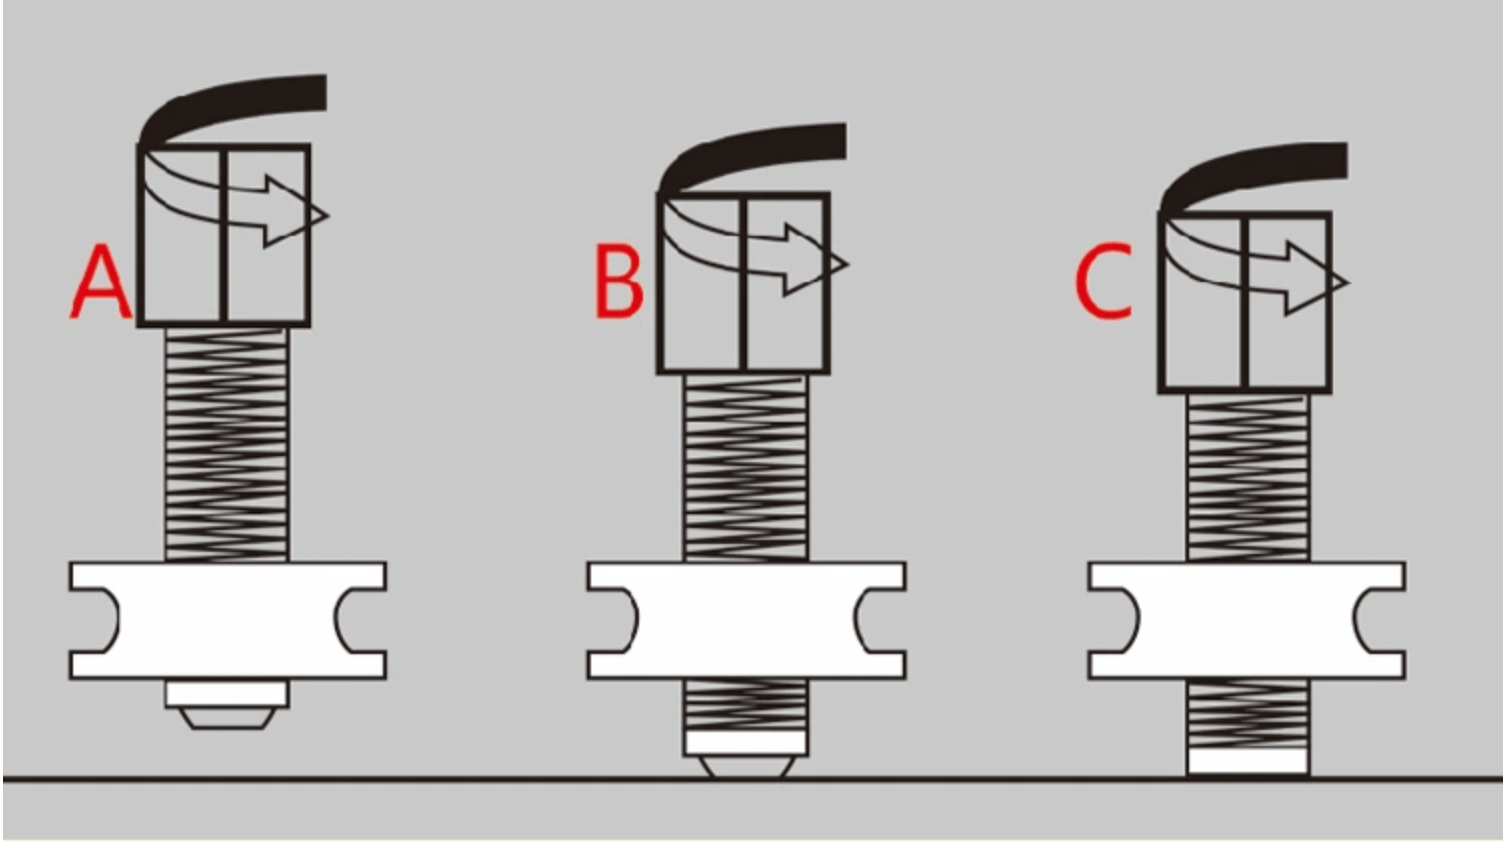
STEP # 3 (a)
Turn the Cylinder 1- 3 Full Turn
- Screw down the (A) resin chamber (B) (turning clockwise) flatting the seal mouth to the windshield completely. (C) Once it touches the glass turn the cylinder one to three full turns.
NOTE: Pressure from the tripod onto the injector base opens the break and cracks and holds them open by flexing the glass. Increase the pressure slowly by turning the cylinder (not the piston) two- three full turns. See the Video Here.
STEP # 4
- (h) Squeeze 4-5 drops of the repair resin (depending on the extent of the damage) into the resin chamber. Let the resin flow down into the seal and start to fill the break.
If the resin leaks out of the bottom of the resin chamber you may not be centered over the impact point or you need to turn the resin chamber clockwise for more pressure to prevent leakage.

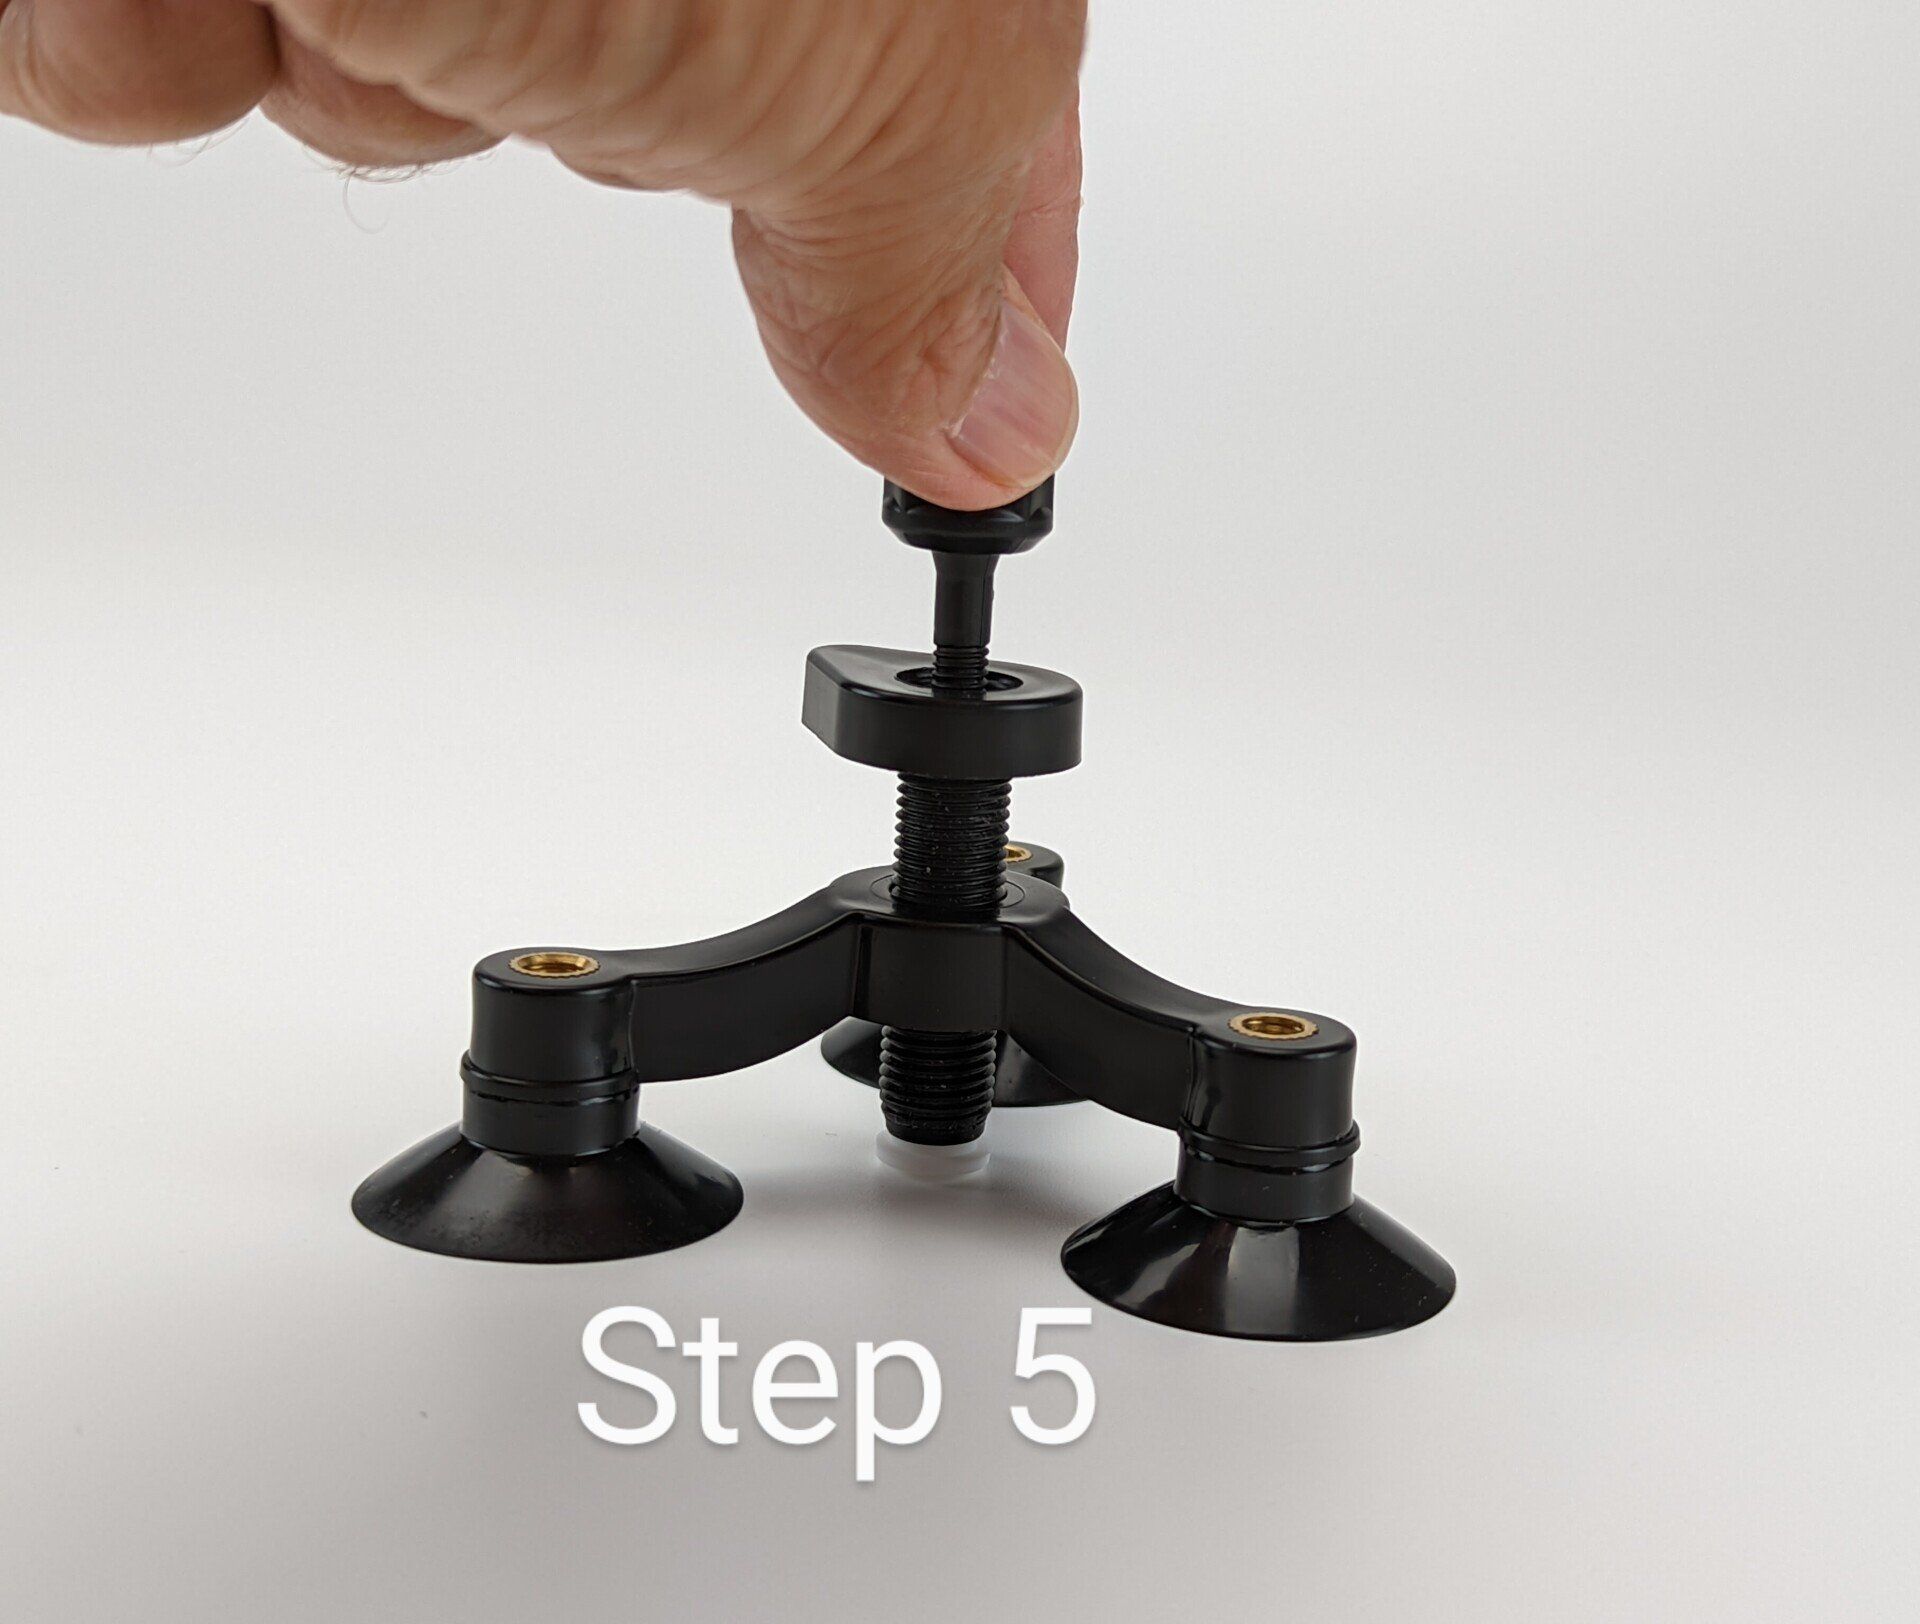
Step #5
(i) Lubricate the lip that goes into the cylinder of the NEW white seal on the top of the piston with a drop of pit-filler resin or any other resin you have. This seal will increase vacuum, pressure and prevent resin from spilling after you remove the tool. Then Insert and Turn the piston (clockwise) into the resin chamber to drive the resin into the break. You will feel resistance when the piston enters into the grommet sleave.
Tighten the piston until resin starts to flow into the break and then stop. Check from inside the car to make sure the rubber mouth has opened wide. Allow the repair resin time to be absorbed into the break (4-5 minutes depending on the extent of the damage).
Note: Use caution, when driving the piston, do not use to much pressure. TOO much piston pressure will cause resin to leak.
Step #6
Draw a Vacuum to remove air and degas the resin for one minute. Unscrew the piston until you feel it leave the cylinder boot or when you reach the bottom of the seal at the top of the piston to release any air trapped inside the break or grommet chamber. After one minute or more, screw the the piston back down again to apply pressure on the resin. To determine if the repair resin has been absorbed into the break, look at the glass from an angle about 45 degrees.
in addition to using vacuum, use the Ultra Bond Flex and Release Method by loosening the cylinder about one-two full turn. This will push the resin forward and any remaining air backward and up the chamber.
Make sure no bubbles remain in the break. In the case of chips or bullseyes examine the glass from directly behind the damaged area.
Un-repaired areas will appear as dark (green or black) area.
If a leg (crack) is not filling you will need to flex the leg with a small screwdriver or the handle of a teaspoon works better- See the Ultra Bond complete chip repair manual.
If there is any damage still visible manually flex the leg again by using the Ultra Bond Flex and Release Method by loosening the cylinder one full turn to release the flex on the glass which will close the legs that have been held open by the flex from the tool tripod holding structure. This will push the resin forward into the tips of the leg/cracks. The break should then be completely filled. After a minute you can reapply the flex for a second round by turning the cylinder Clockwise one full turn. This is optional . See the video tutorial.
When the break is completely filled and ready to be cured - Release the Flex applied in Step 2 by turning the cylinder counter-clockwise 1 full turn. This will close the break and cracks back to their normal position and push the resin forward into the extreme perimeter and tips of the legs.
Then leaving the tool in place with the piston in the pressure mode, place the vehicle in sunlight or cure with a curing light for 2-4 minutes.
Step #7
After curing, turn the resin piston a full turn (counter-clockwise) to prevent resin from spilling out. Remove the entire apparatus by lifting up on the small tabs on suction cups or slide a small screwdriver or razor blade under the cup to release.
Gently wipe excess repair resin from the applicator so it does not drip down the windshield. Remove any cured resin on the glass with the razor blade. Add a drop of pit-filler or repair resin into the impact point/pit and cover with a curing strip for the finishing touches. When applying the curing strips to the pit gently place the strips on the glass.

Step #8
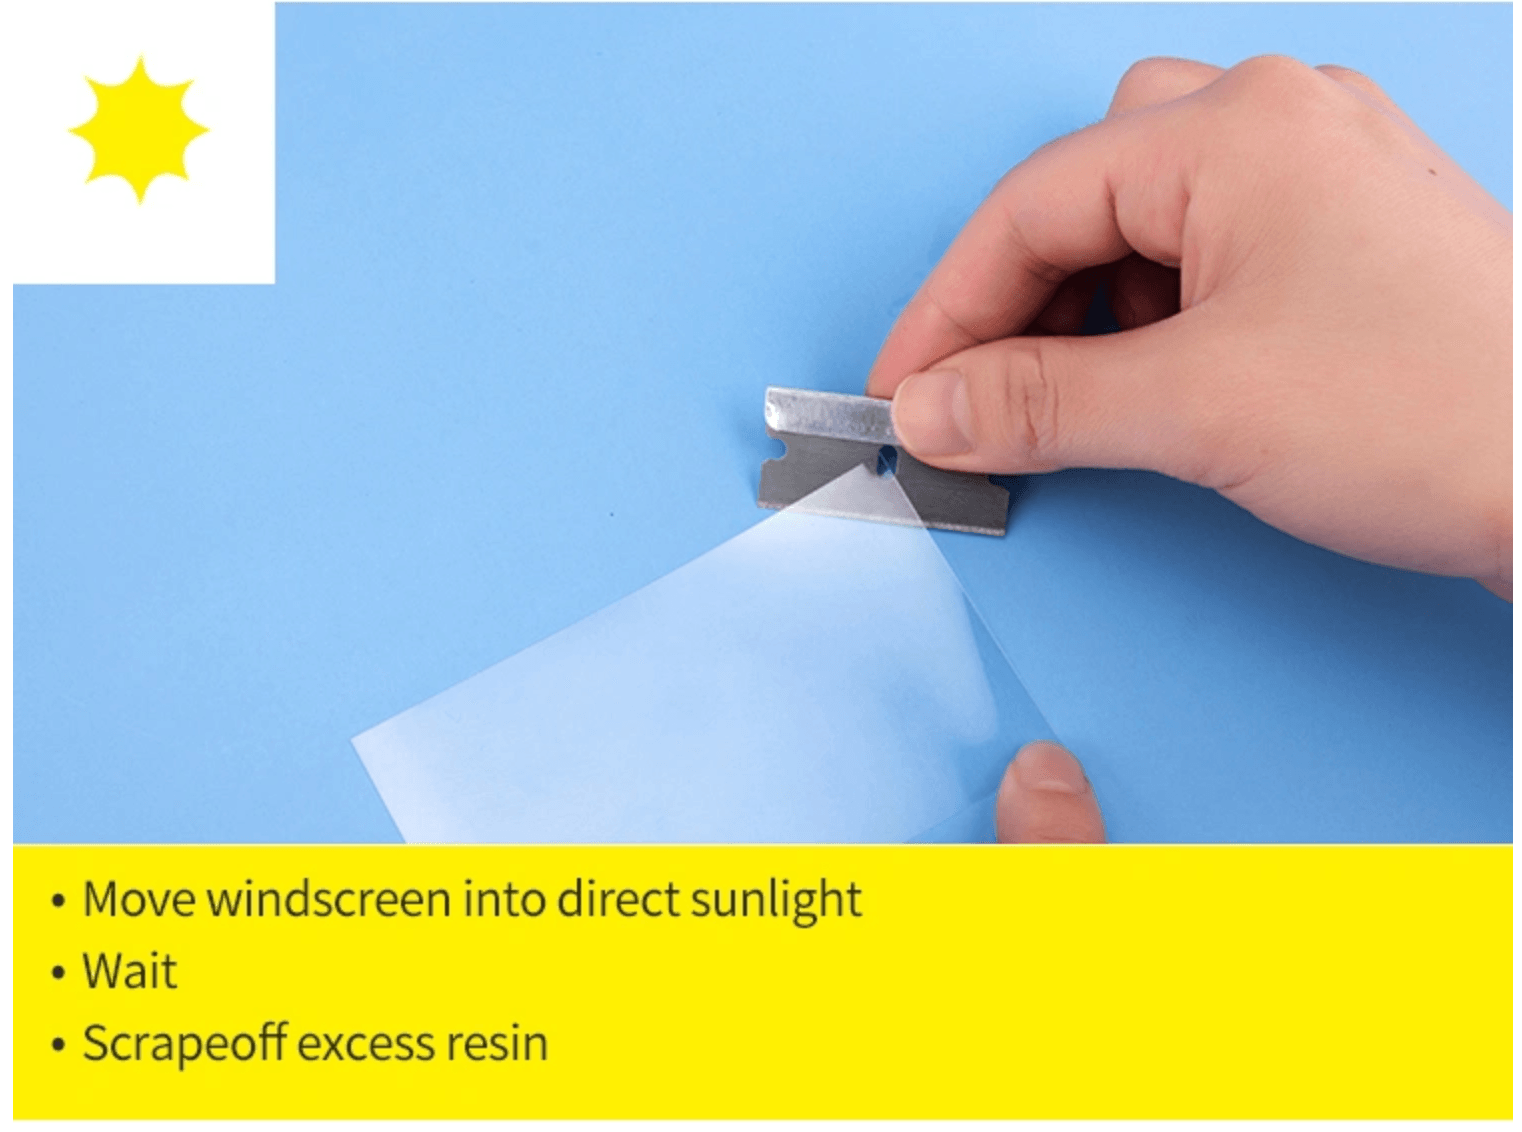
Move the car (windshield) into direct sunlight or use an ultraviolet light and cure the pit for 1-2 minutes. Then remove the curing strips.
The repair resin must be dried/cured before scrapping away the hardened excess resin with a razor blade at a 90 degree angle to the windshield when scraping for best results.
Scrape at a 90 degree angle until the hardened resin comes off in white flakes. If a small blemish still remains at the impact point, apply a small drop of repair resin directly to the impact point of the chip and repeat the pit-filling process. NOTE: To keep the pit clearer, Spray it with Spay Away Glass Cleaner and keep the pit wet during the entire time you are scraping the excess of the pit.